 Download
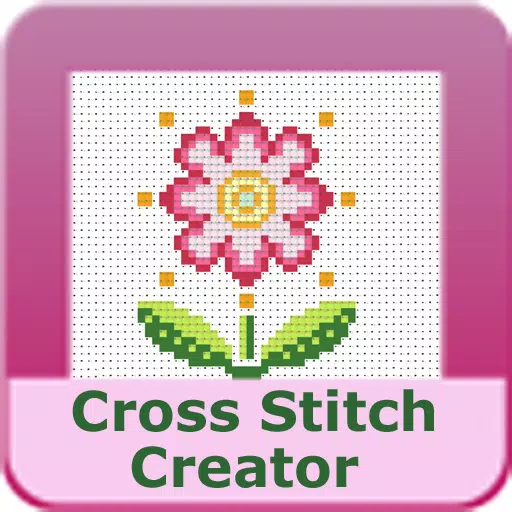
Design your own custom cross stitch patterns with ease.
Cross Stitch Pattern Creator
Includes four sample patterns for free download. Activation requires a one-time payment of $2.99.
For the best experience, we recommend using a tablet due to the typical size of cross stitch patterns.
Design unique cross stitch patterns with the Cross Stitch Pattern Creator
To begin creating your pattern, click the "Create a Cross Stitch Pattern" button.
The Cross Stitch Pattern Editor will open. Fill in the grid squares with your chosen DMC floss colors.
You can even create and add custom colors to your palette.
Getting started: Use the Pencil tool to mark squares in your pattern. Use the Eraser tool to remove marks or backstitch lines.
Enhance your design by choosing from over 80 decorative stamps and borders to apply to your pattern.
The button bar, from left to right, includes:
DMC Floss Color button – Choose your desired floss color.
Save button – Save your pattern progress.
Pencil button – Fill in individual squares on your pattern grid.
Eraser button – Remove filled squares and backstitch lines.
Backstitch button – First, pick a color, then use this tool to draw backstitch lines.
Backstitch move button – Click and drag an entire backstitch line to a new position.
Backstitch move stitch end – Select a backstitch to reveal blue handles; adjust either end to reshape the line.
Stamps button – Access a library of small cross stitch motifs to embellish your pattern.
Borders button – Add decorative borders that automatically wrap around your design.
Dropper button – Pick a color directly from your pattern to use elsewhere.
Bucket button – Fill a contiguous area with your currently selected color.
Bucket+ button – Replace all instances of one color with another throughout the pattern.
Undo button – Reverse your last action.
Redo button – Restore any changes you previously undid.
Selection box button – Define an area of the pattern to cut, copy, rotate, or flip.
Cut button – Select an area with the Selection Box, then use Cut to remove it.
Copy button – After selecting an area, copy it to the clipboard.
Paste button – Paste the copied selection onto your pattern and drag it into place.
Rotate button – Rotate the selected area or the entire pattern.
Flip right/left button – Flip the selected area or pattern horizontally.
Flip top/bottom button – Flip the selected area or pattern vertically.
Zoom in button – Enlarge your view of the pattern.
Zoom out button – Reduce the pattern view.
Symbols button – Toggle unique symbols on each color to represent different floss values.
Picture button – Upload a photo from your device to convert it into a pattern.
Social media button – Share your creation via email, text, or other platforms.
Resize bars – Located at the bottom-right corner; drag to adjust your pattern's dimensions.
Option settings – Customize the grid color, switch fill style between Solid and X's, or hide the row/column counter.
Instruction page – View the DMC colors used and see the finished sizes for various Aida cloth counts.
Finished Product page – Preview your pattern stitched on virtual fabric, with options to change the background color.





![熊本のHairSalon YELLOW[ヘアサロンイエロー]](https://images.ydxad.com/uploads/78/173155007867355b7e469e0.webp)