Connect Asus ROG Ally to TV or Monitor: Easy Guide
The ROG Ally made a splash in 2023 as a compelling alternative to the Steam Deck, offering gamers access to a wider array of titles thanks to its Windows operating system. The subsequent release of the ROG Ally X last year further enhanced the experience with upgraded internals and a more ergonomic design, complete with improved cooling. While the ROG Ally's primary appeal lies in its portability, the flexibility to connect to a larger screen for a more immersive gaming experience is a significant advantage. Both the original and the ROG Ally X can be seamlessly connected to a TV or monitor, and we've detailed the process below to ensure you get the most out of your gaming sessions.
How to Connect With an Adapter
Connecting your ROG Ally to a TV or monitor can be done in several ways, but using an adapter is a straightforward and space-efficient method. You can choose from a compact dongle-style adapter, a direct cable, or the official ROG Gaming Charger Dock, which provides multiple connectivity options.
What You'll Need

ASUS ROG 65W Charger Dock
ASUS has simplified the process of connecting the ROG Ally to a TV with the official ROG Gaming Charger Dock. This dock is the most compact solution, serving dual purposes as both a charger and a display connector. You'll need a USB-C and an HDMI cable to get started. The dock also features a USB-A port, allowing you to connect peripherals like a mouse or keyboard.
Alternatively, a third-party USB-C to HDMI adapter can be directly connected to the ROG Ally's USB-C port. From there, an HDMI cable links the adapter to your TV or monitor. For a streamlined approach, a USB-C to HDMI cable can be used, connecting directly from your ROG Ally to your display without additional components.
Some USB-C to HDMI adapters come with a passthrough USB-C port for charging. If your adapter has this feature, you'll need an additional USB-C cable and your power adapter to keep the ROG Ally powered up during play.
How to Connect: Step-by-Step Instructions
- Plug a USB-C to HDMI adapter (or cable) into the ROG Ally's USB-C port on the top of the enclosure. If using the ROG Gaming Charger Dock, connect one end of a USB-C cable to the ROG Ally's USB-C port and the other end to the USB-C charging port on the dock.
- Connect an HDMI cable to the adapter (or dock) and plug the other end into an available HDMI port on your TV or monitor. If using a direct USB-C to HDMI cable, connect the HDMI end directly to your display.
- (Optional) If your adapter has a passthrough USB-C port for charging, connect your ROG Ally's power adapter to this port to keep the device powered.
- Power on the ROG Ally; it should automatically detect and output the video signal.
- Switch your TV or monitor to the correct HDMI input to view the ROG Ally's display.
How to Connect With a Docking Station
For a more console-like experience reminiscent of the Nintendo Switch, a docking station might be your preferred choice. Although the ROG Ally doesn't have an official docking station (except for the ROG Gaming Charging Dock, which functions more like an adapter), numerous third-party options exist. These docking stations allow you to place the ROG Ally into a stand while connecting to your TV or monitor and charging simultaneously.
What You'll Need
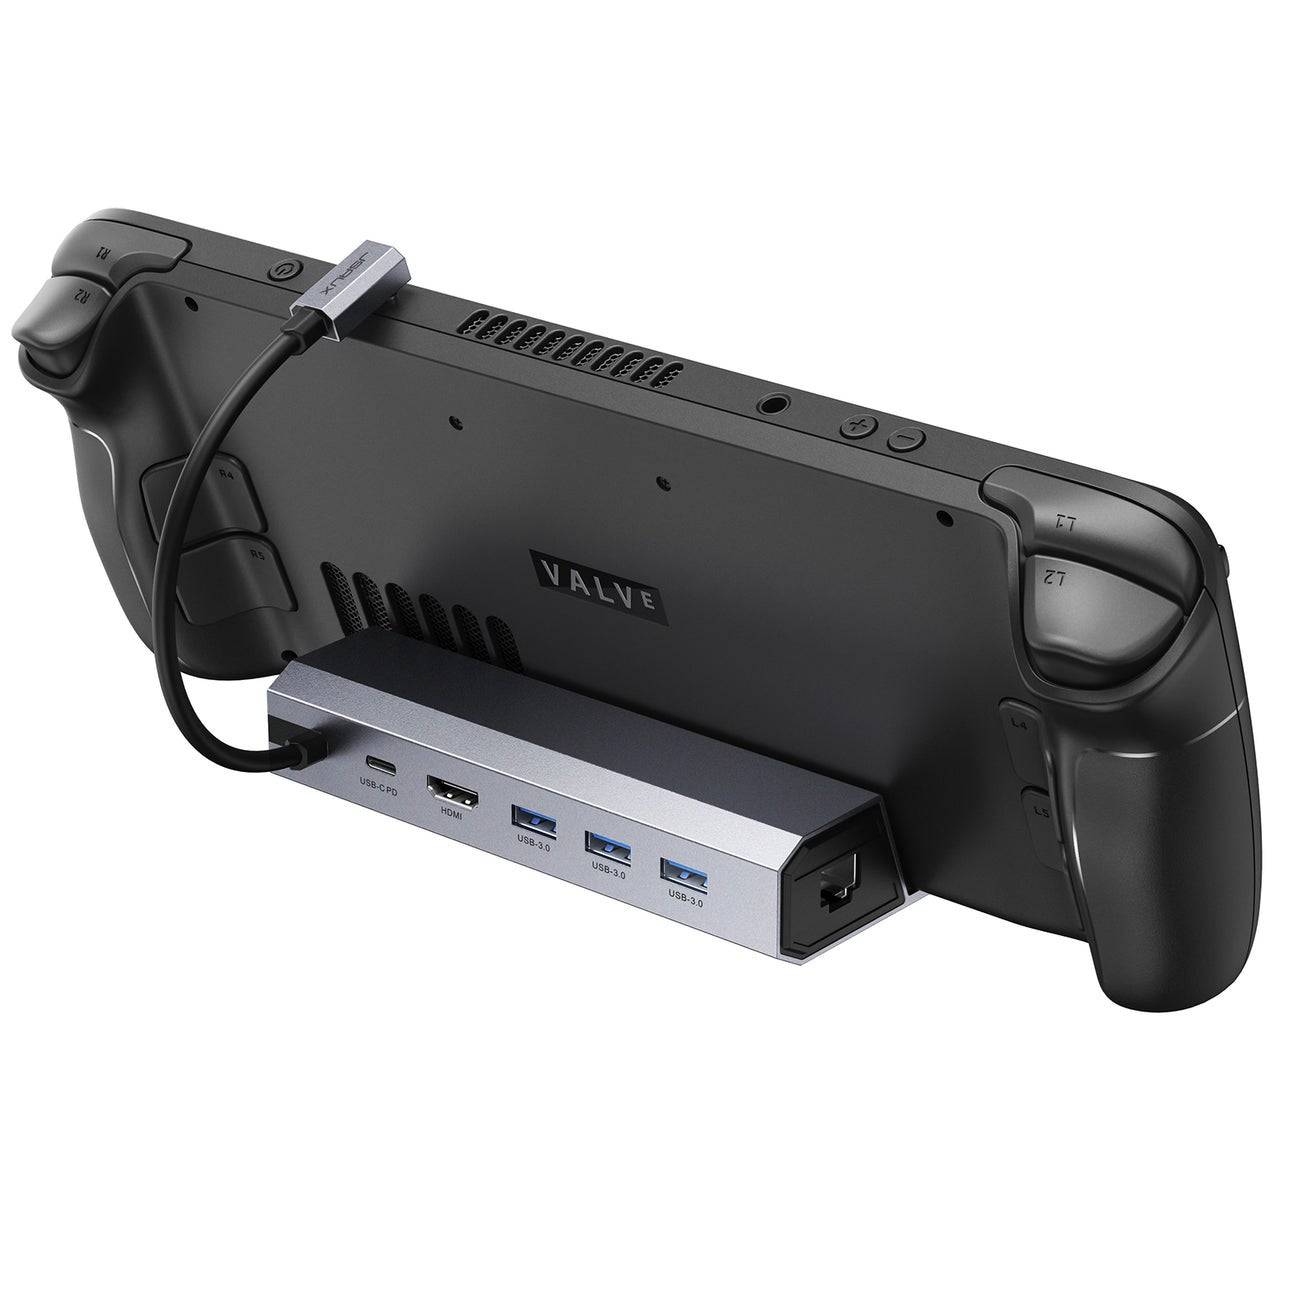
JSAUX Docking Station HB0603
Basic docks for the ROG Ally usually include an HDMI port and a USB-C passthrough for charging. For a more comprehensive setup, consider docks with additional ports for peripherals such as a mouse, keyboard, external hard drives, Ethernet, SD card slots, and even a Display Port for an extra monitor. Compact and portable docking solutions are ideal for gamers on the move, and many docks compatible with the Steam Deck are also suitable for the ROG Ally.
How to Connect: Step-by-Step Instructions
- Place your ROG Ally into the dock.
- Connect the USB-C power cord to the ROG Ally's USB-C port on the top of the enclosure.
- Connect your ROG Ally's power adapter to the USB-C charging port on the dock.
- Connect an HDMI cable from the dock's HDMI port to an available HDMI port on your TV or monitor.
- Power on the ROG Ally; it should automatically detect and output the video signal.
- Switch your TV or monitor to the correct HDMI input to view the ROG Ally's display.
You'll Also Need a Controller
While a mouse and keyboard can be connected to your chosen docking solution, using a wireless controller often provides a more comfortable gaming experience on larger screens. The ROG Ally supports any Bluetooth-enabled gaming controller. Here are some top picks that work well with the ROG Ally:

Sony DualSense
Available at Amazon, Best Buy, and Target.
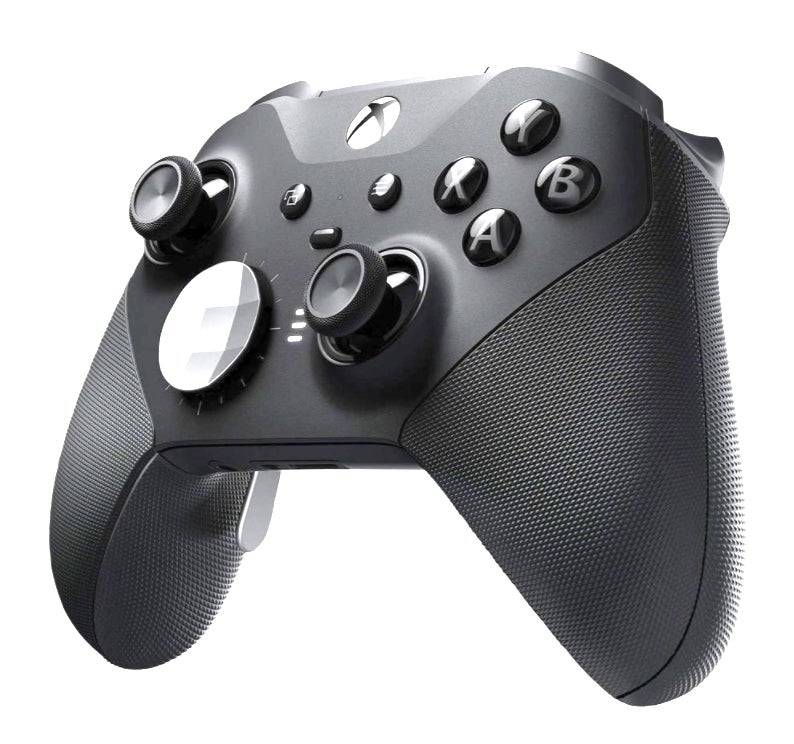
Xbox Elite Series 2 Controller
Available at Amazon and Best Buy.

8BitDo Ultimate Controller
Available at Amazon.
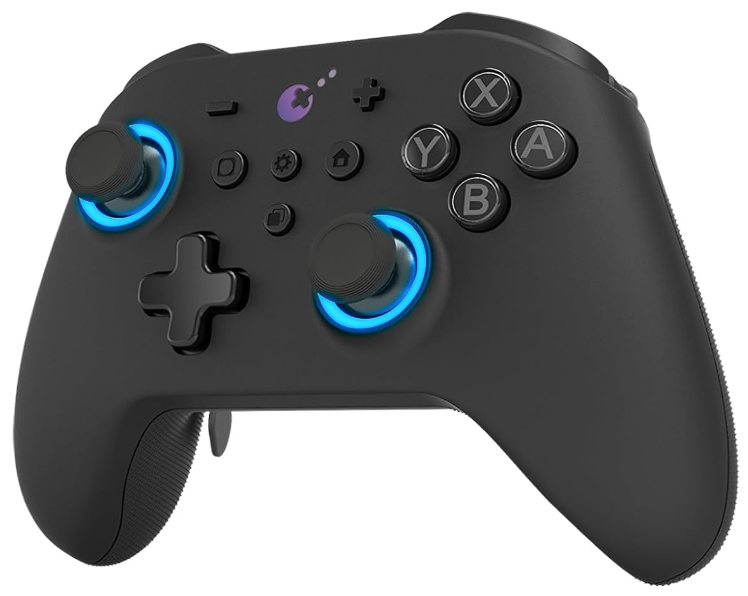
GuliKit KingKong 3 Max Controller
Available at Amazon.

PowerA Wireless GameCube Style Controller
Available at Amazon.
These options include first-party controllers like the PS5's DualSense, Xbox Wireless Controller, and Nintendo Switch Pro Controller, as well as various third-party controllers. Some controllers use a 2.4GHz wireless connection with a USB adapter, offering lower latency and better range than standard Bluetooth controllers. For those close to their setup, a wired USB controller provides a simple plug-and-play solution.
-
 Shiro’s Kitchen Cruise is a brand-new cooking simulation from Omoté Studios—yes, the same Omoté (Asia Pacific) Group celebrated for its modern Japanese dining establishments across Singapore. Known for premium food and beverage services, the group brAuthor : Layla May 02,2026
 -
 The world is submerged, with only the ocean remaining.Face relentless enemies and continuously upgrade your arsenal.Recruit a crew of survivors and engage in cooperative or solo combat.Following its announcement a few months ago, Century Games has laAuthor : Jacob Apr 30,2026


- Classic WoW vs. Turtle WoW: 6 Key Differences
- Ultimate Guide to Shinigami Progression in Hollow Era
- Roblox Simulator Codes: Unlock Exclusive Rewards!
- Mastering Two-Handed Weapons in Elden Ring: A Guide
- Wuthering Waves: Uncover the Secrets of Whisperwind Haven's Palette
- Top 25 Palworld Mods to Enhance Your Game