Kraken Guide: Full Dead Sails Update
If you adored the thrilling ride of Dead Rails on sails, you're in for a treat with the latest update of Dead Sails. Despite the challenges it brings, mastering the Seven Seas and conquering the tentacled beast, the Kraken, is within your grasp. Fear not, as this comprehensive Dead Sails Kraken guide will navigate you through the new content, accelerate your progress, and ensure your gaming experience is nothing short of exhilarating.
Recommended Videos Table of contents
- Dead Sails Kraken Boss Guide
- Dead Sails Kraken Tips And Tricks
- How to Defeat the Kraken Boss in Dead Sails Kraken
Dead Sails Kraken Boss Guide
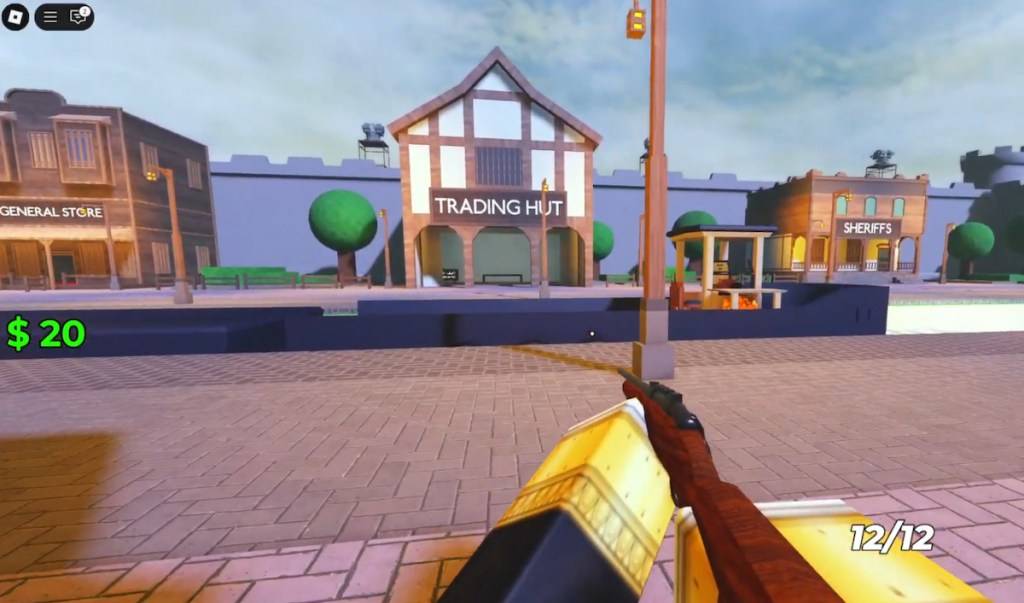
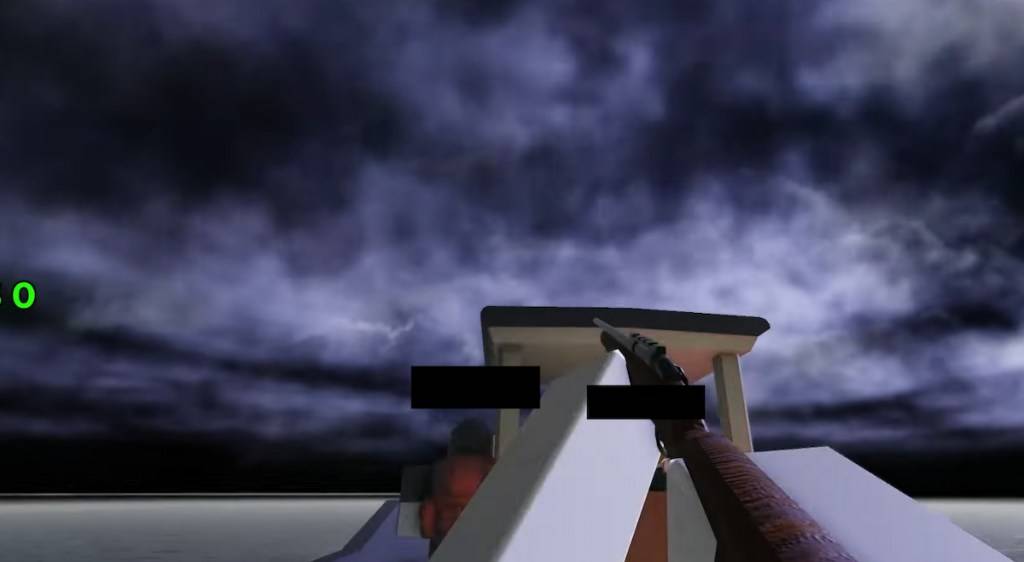
Embarking on your adventure, you'll find yourself in the heart of town, opposite the Gun Store and Hospital, and in front of the Trading Hut. Begin by offloading any unnecessary loot and equipping yourself. I highly recommend a Rifle for this journey; it's affordable at just $75 and packs enough punch to fend off most adversaries, at least temporarily. Don't forget to purchase the coal required to power your vessel, given its vintage engine.
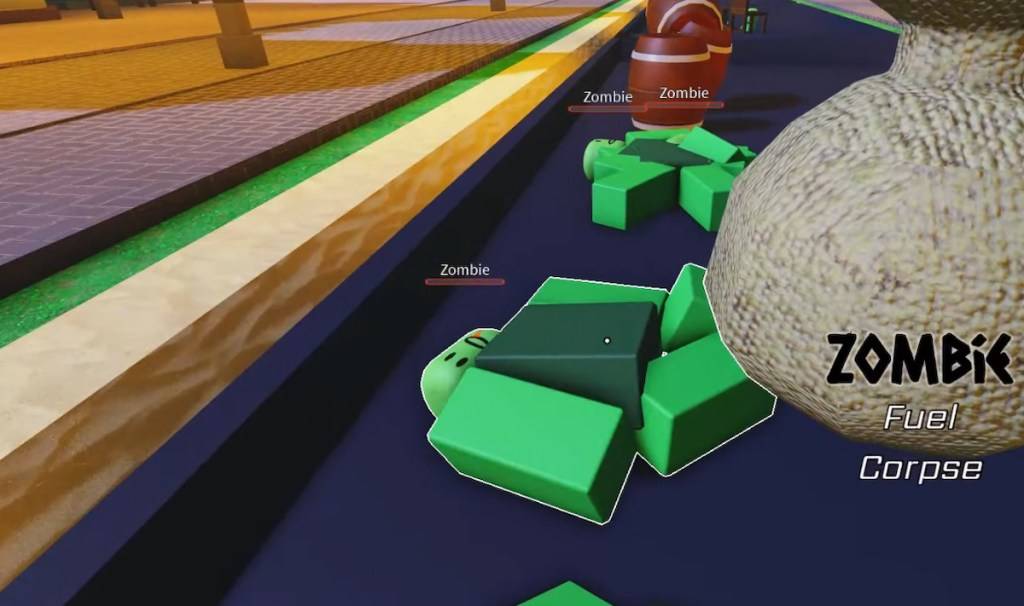
Your next destination lies 10,000m away. Simply ignite the engine to set off on your adventure. While you may encounter Zombies and Drowned along the way, it's generally not worth the detour to loot them. The houses flanking the route offer little of value. To resume your journey, replenish the coal and restart the ship. Ignore the worm on the right; it's harmless. Hold onto your loot until the second safe zone to sell it, but remain vigilant of Big Foot and Zombie mobs on either side of the river.
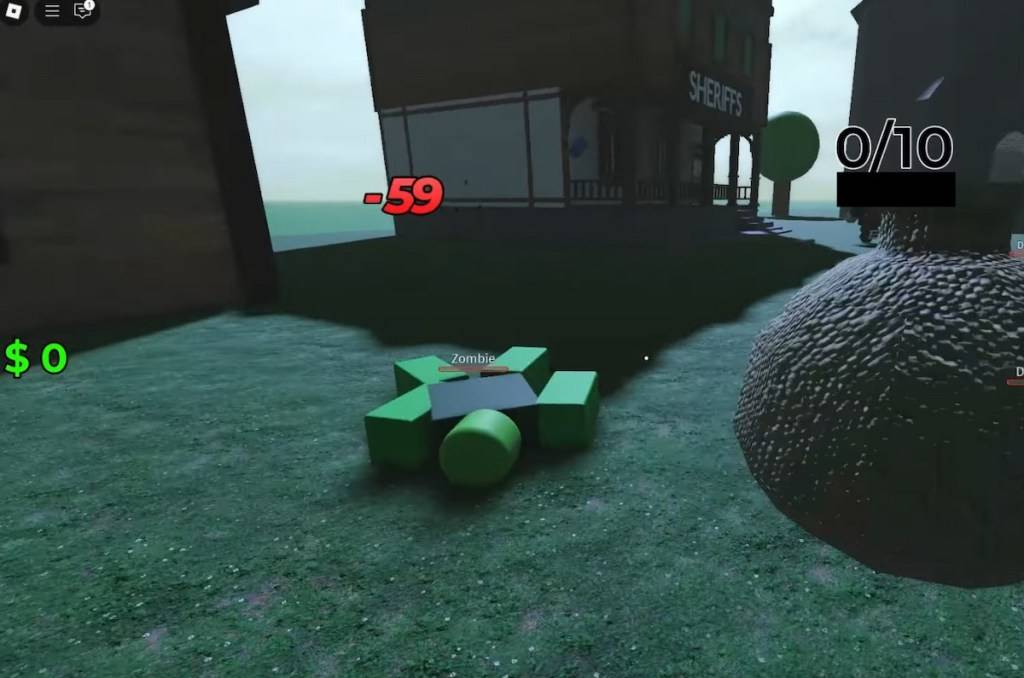
Post the second safe zone, you'll navigate through towns riddled with burning buildings teeming with mobs. If you're solo, it's best to bypass these as the spawn points are erratic. At approximately 12,000m, you'll discover a castle-like house brimming with Drowned, yet it's also a treasure trove of Shotgun ammo and other valuables. Use your resources wisely here.
Dead Sails Kraken Tips And Tricks
By now, the gameplay loop is familiar—kill, loot, and hope for enemy defeat. To truly excel, focus on efficiency, particularly by using your boat as a mobile inventory. Offload your gear onto the boat to save time and space.
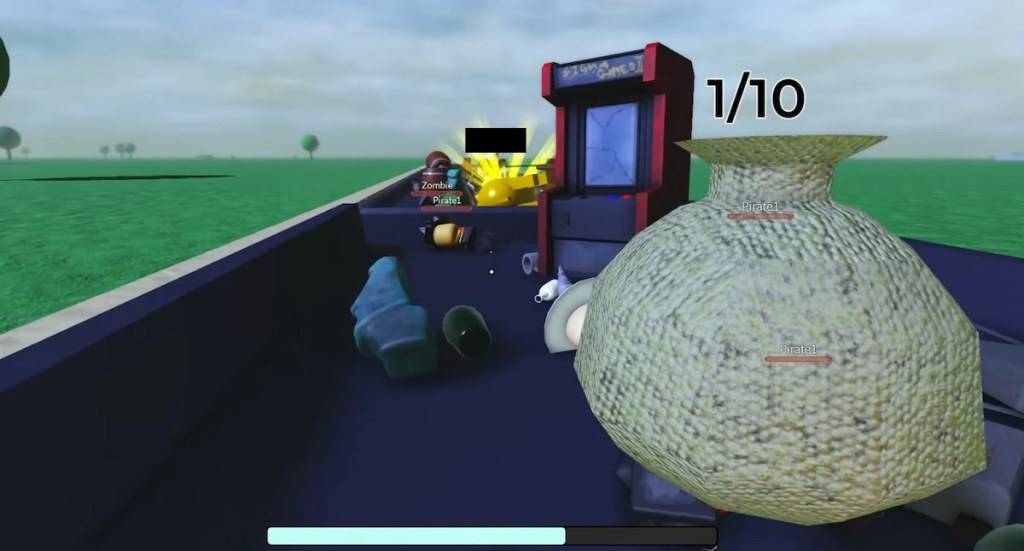
A key strategy I've found effective is stacking Zombies near the incinerator. While it's tempting to rush through these towns, efficient loot management will greatly enhance your progress. Running low on fuel? Simply toss a few Zombies into the incinerator to keep your journey fueled.
Another tip: be cautious when exploring Sheriff's offices. These locations often harbor a high concentration of mobs but also offer substantial rewards in weapons and ammo. My shotgun lasted longer thanks to a friend clearing the ground floor during our town sweeps.
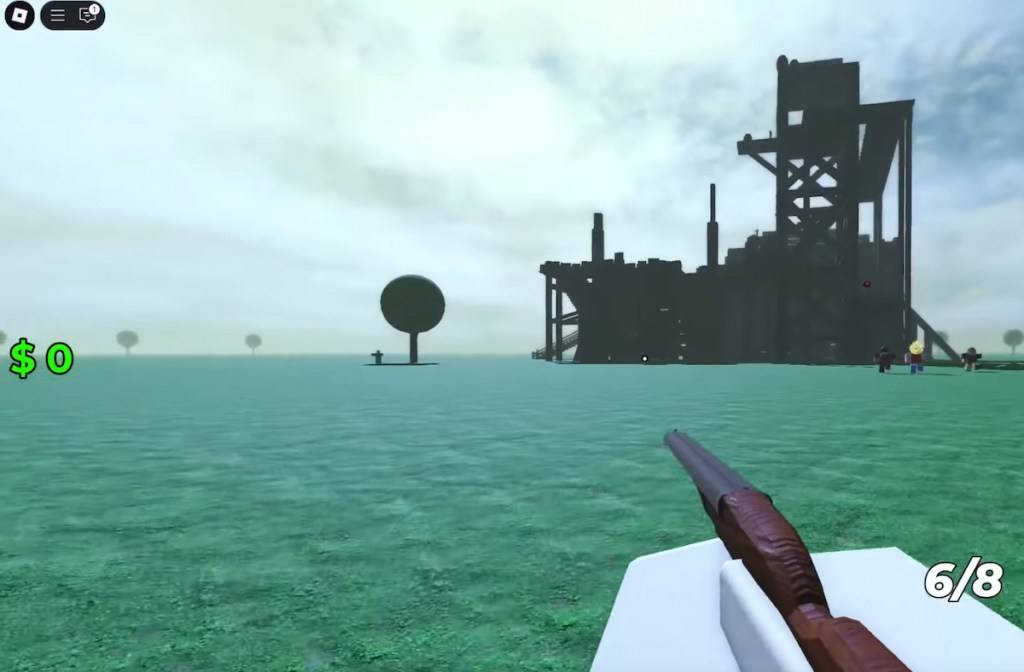
Conserve your ammo, weapons, fuel, and medkits for the fortress at 25,000m. This area, still under construction, is prone to ambushes. It's advisable to tackle this challenge with at least three companions, with a five-person team being ideal. Be efficient in collecting loot.
Avoid engaging Big Feet beyond 30,000m. They're formidable and require significant ammunition to defeat safely. Plan your stops wisely; remember, loot isn't everything.
The town past 50,000m is a prime farming location with numerous Drowned and Zombies. With a few friends equipped with Shotguns or a Sawn-off, it's an efficient spot to gather corpses for fuel. Coordinate with your team to prepare bodies for loading quickly.
How to Defeat the Kraken Boss in Dead Sails Kraken
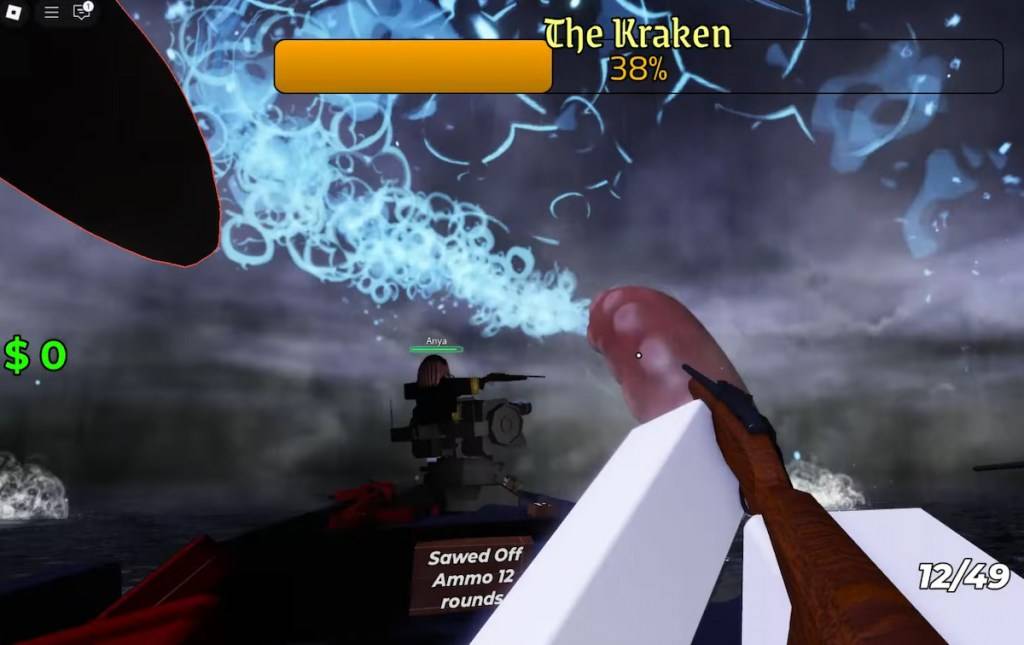
In the final safe zone, sell all your accumulated goods and stock up on ammo, weapons, and medkits. Don't underestimate the Zombies and Drowned; ensure you have a stash of 8-10 corpses for fuel during the final leg of this journey. As you reach 100,000m, you'll enter open waters, signaling the imminent battle with the Kraken. The darkening skies herald its arrival.
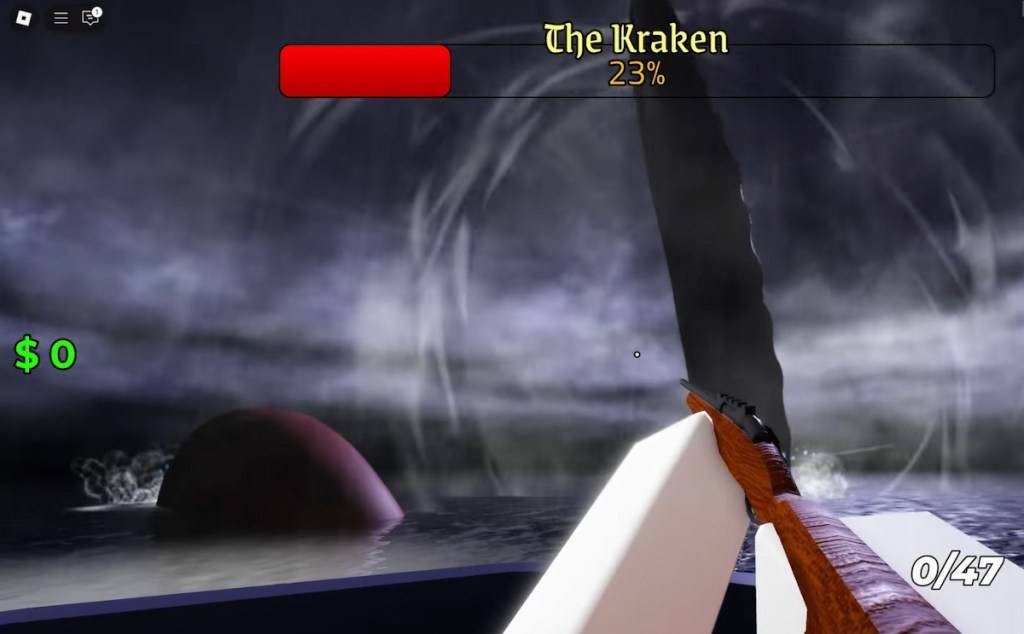
As the Kraken emerges, each player must target a tentacle. The boss boasts substantial health, and each tentacle can inflict damage if not properly countered. With a five-person team, form a pentagram-like formation, allowing each member to focus on a different tentacle.

Be mindful of the water splash attack, an AoE move that damages multiple players. It's signaled by the Kraken winding back and creating a water trail. Use medkits liberally, as some damage is unavoidable.
Lastly, watch out for the Roar AoE, which causes minor, unblockable damage and may slightly boost the boss's damage. It's identifiable by white concentric circles emanating from the tentacle that used the ability.
As you can see, the challenge is daunting but manageable. That concludes my Dead Sails Kraken guide. To expedite your victory over the boss, consider using one of our Dead Sails codes to enhance your journey. Wishing you smooth sailing and the best of luck!
-
 TMNT: The Last Ronin is an upcoming action RPG developed by Black Forest Games and published by THQ Nordic. Learn more about its release date, available platforms, and announcement timeline.← Return to TMNT: The Last Ronin main articleTMNT: The LastAuthor : George May 11,2026
 -
 Silent Hill f is the first Silent Hill game to receive an 18+ rating in Japan.As shown in the Japanese-language reveal trailer that premiered last night, Silent Hill f is rated Mature in the U.S., PEGI 18 in Europe, and CERO:Z in Japan.Since the gameAuthor : Ava May 10,2026
-
 Collapse NPC RapeDownload
 -
 Hey Love Adam ModDownload
 -
 RogueMaster : Action RPGDownload
 -
 Ozuna Piano TilesDownload
 -
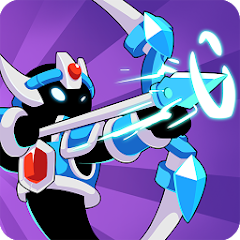
 Heroes Defense: Apex GuardiansDownload
 -
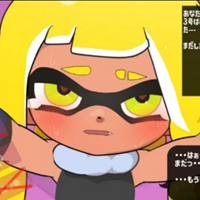 Never Lose! Squid Hero-Chan VS Absolutely Squid TentaclesDownload
 -
 Spooky Starlets: Movie MakerDownload
 -
 4 In A Line AdventureDownload
 -
 Lunch with Ronan modDownload
 -
 Super Jogo da SaúdeDownload


- Classic WoW vs. Turtle WoW: 6 Key Differences
- Ultimate Guide to Shinigami Progression in Hollow Era
- Mastering Two-Handed Weapons in Elden Ring: A Guide
- Roblox Simulator Codes: Unlock Exclusive Rewards!
- Wuthering Waves: Uncover the Secrets of Whisperwind Haven's Palette
- Top 25 Palworld Mods to Enhance Your Game