Explore Zoma's Citadel in the Epic Dragon Quest 3 Remake
Conquer Zoma's Citadel in Dragon Quest 3 Remake: A Comprehensive Guide
This guide provides a complete walkthrough of Zoma's Citadel in Dragon Quest 3 Remake, the game's climactic dungeon. It includes strategies for navigating tricky sections, defeating challenging bosses, and locating all treasure.
Reaching Zoma's Citadel

After defeating Baramos, you'll enter a darkened Alefgard. To reach Zoma's Citadel, you need the Rainbow Drop, created by combining:
- Sunstone (Tantegel Castle)
- Staff of Rain (Shrine of the Spirit)
- Sacred Amulet (Rubiss, after freeing her in the Tower of Rubiss – requires the Faerie Flute)
The Rainbow Drop creates the bridge to the Citadel.
Zoma's Citadel 1F
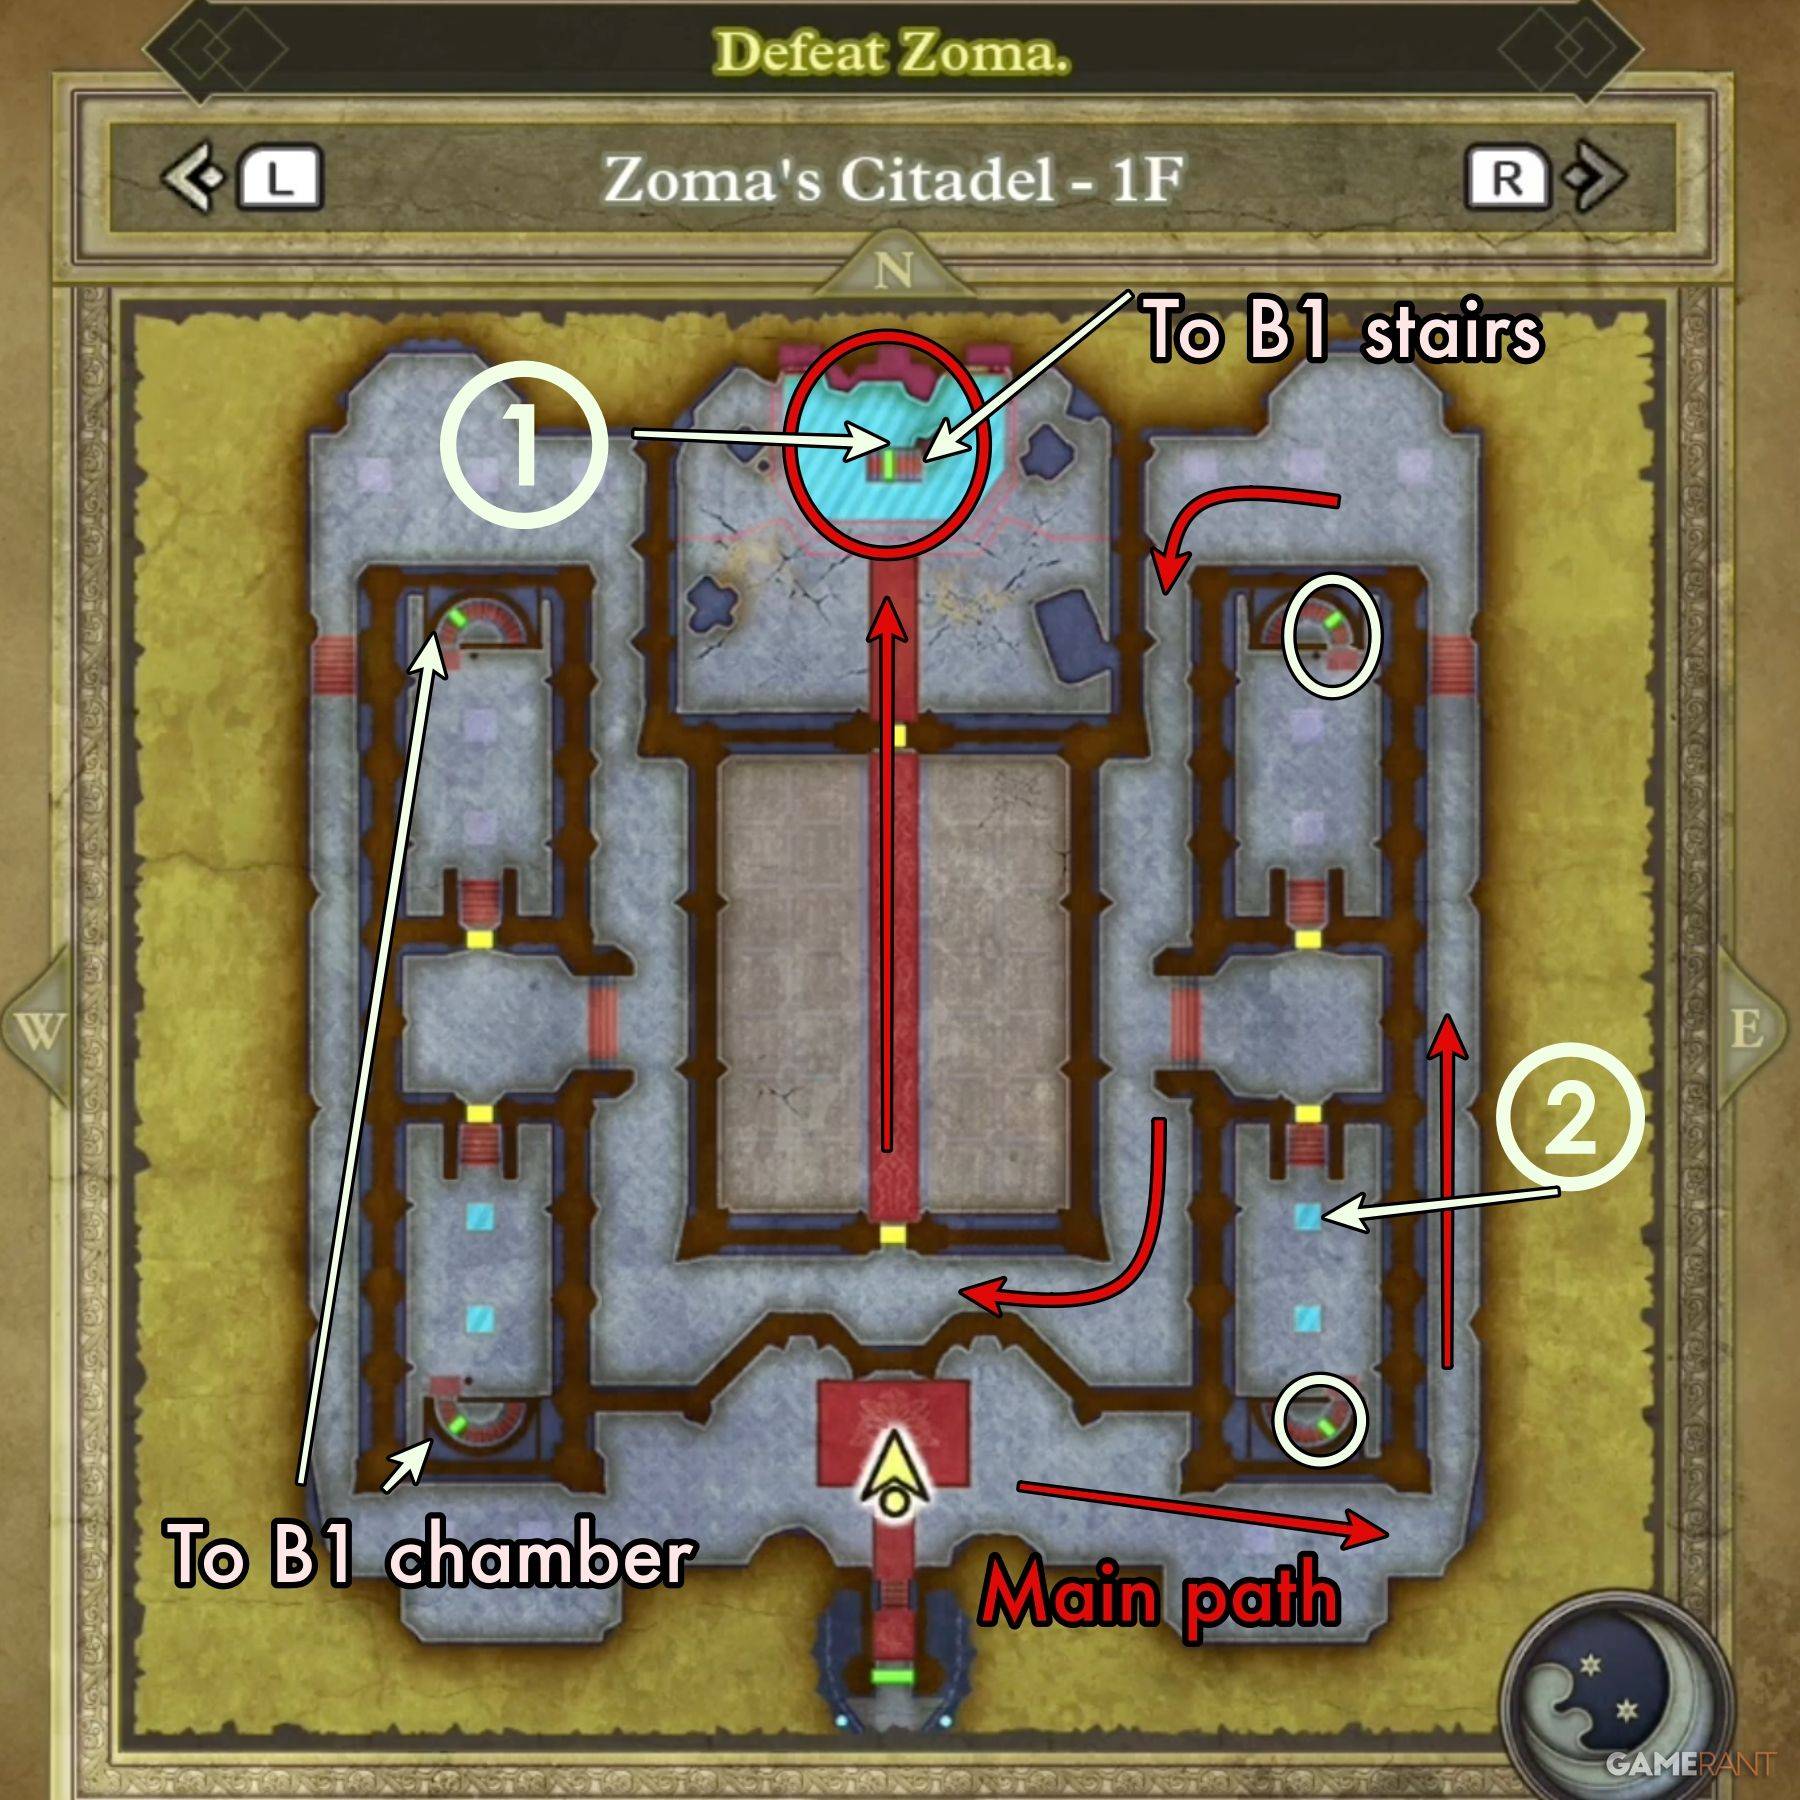
Navigate the first floor to reach the throne in the north. Moving the throne reveals a passage. Explore side chambers for treasure:
- Treasure 1 (Buried): Mini Medal (behind throne)
- Treasure 2 (Buried): Seed of Magic (electrified panel)
Expect a Living Statue encounter in the central chamber.
Zoma's Citadel B1
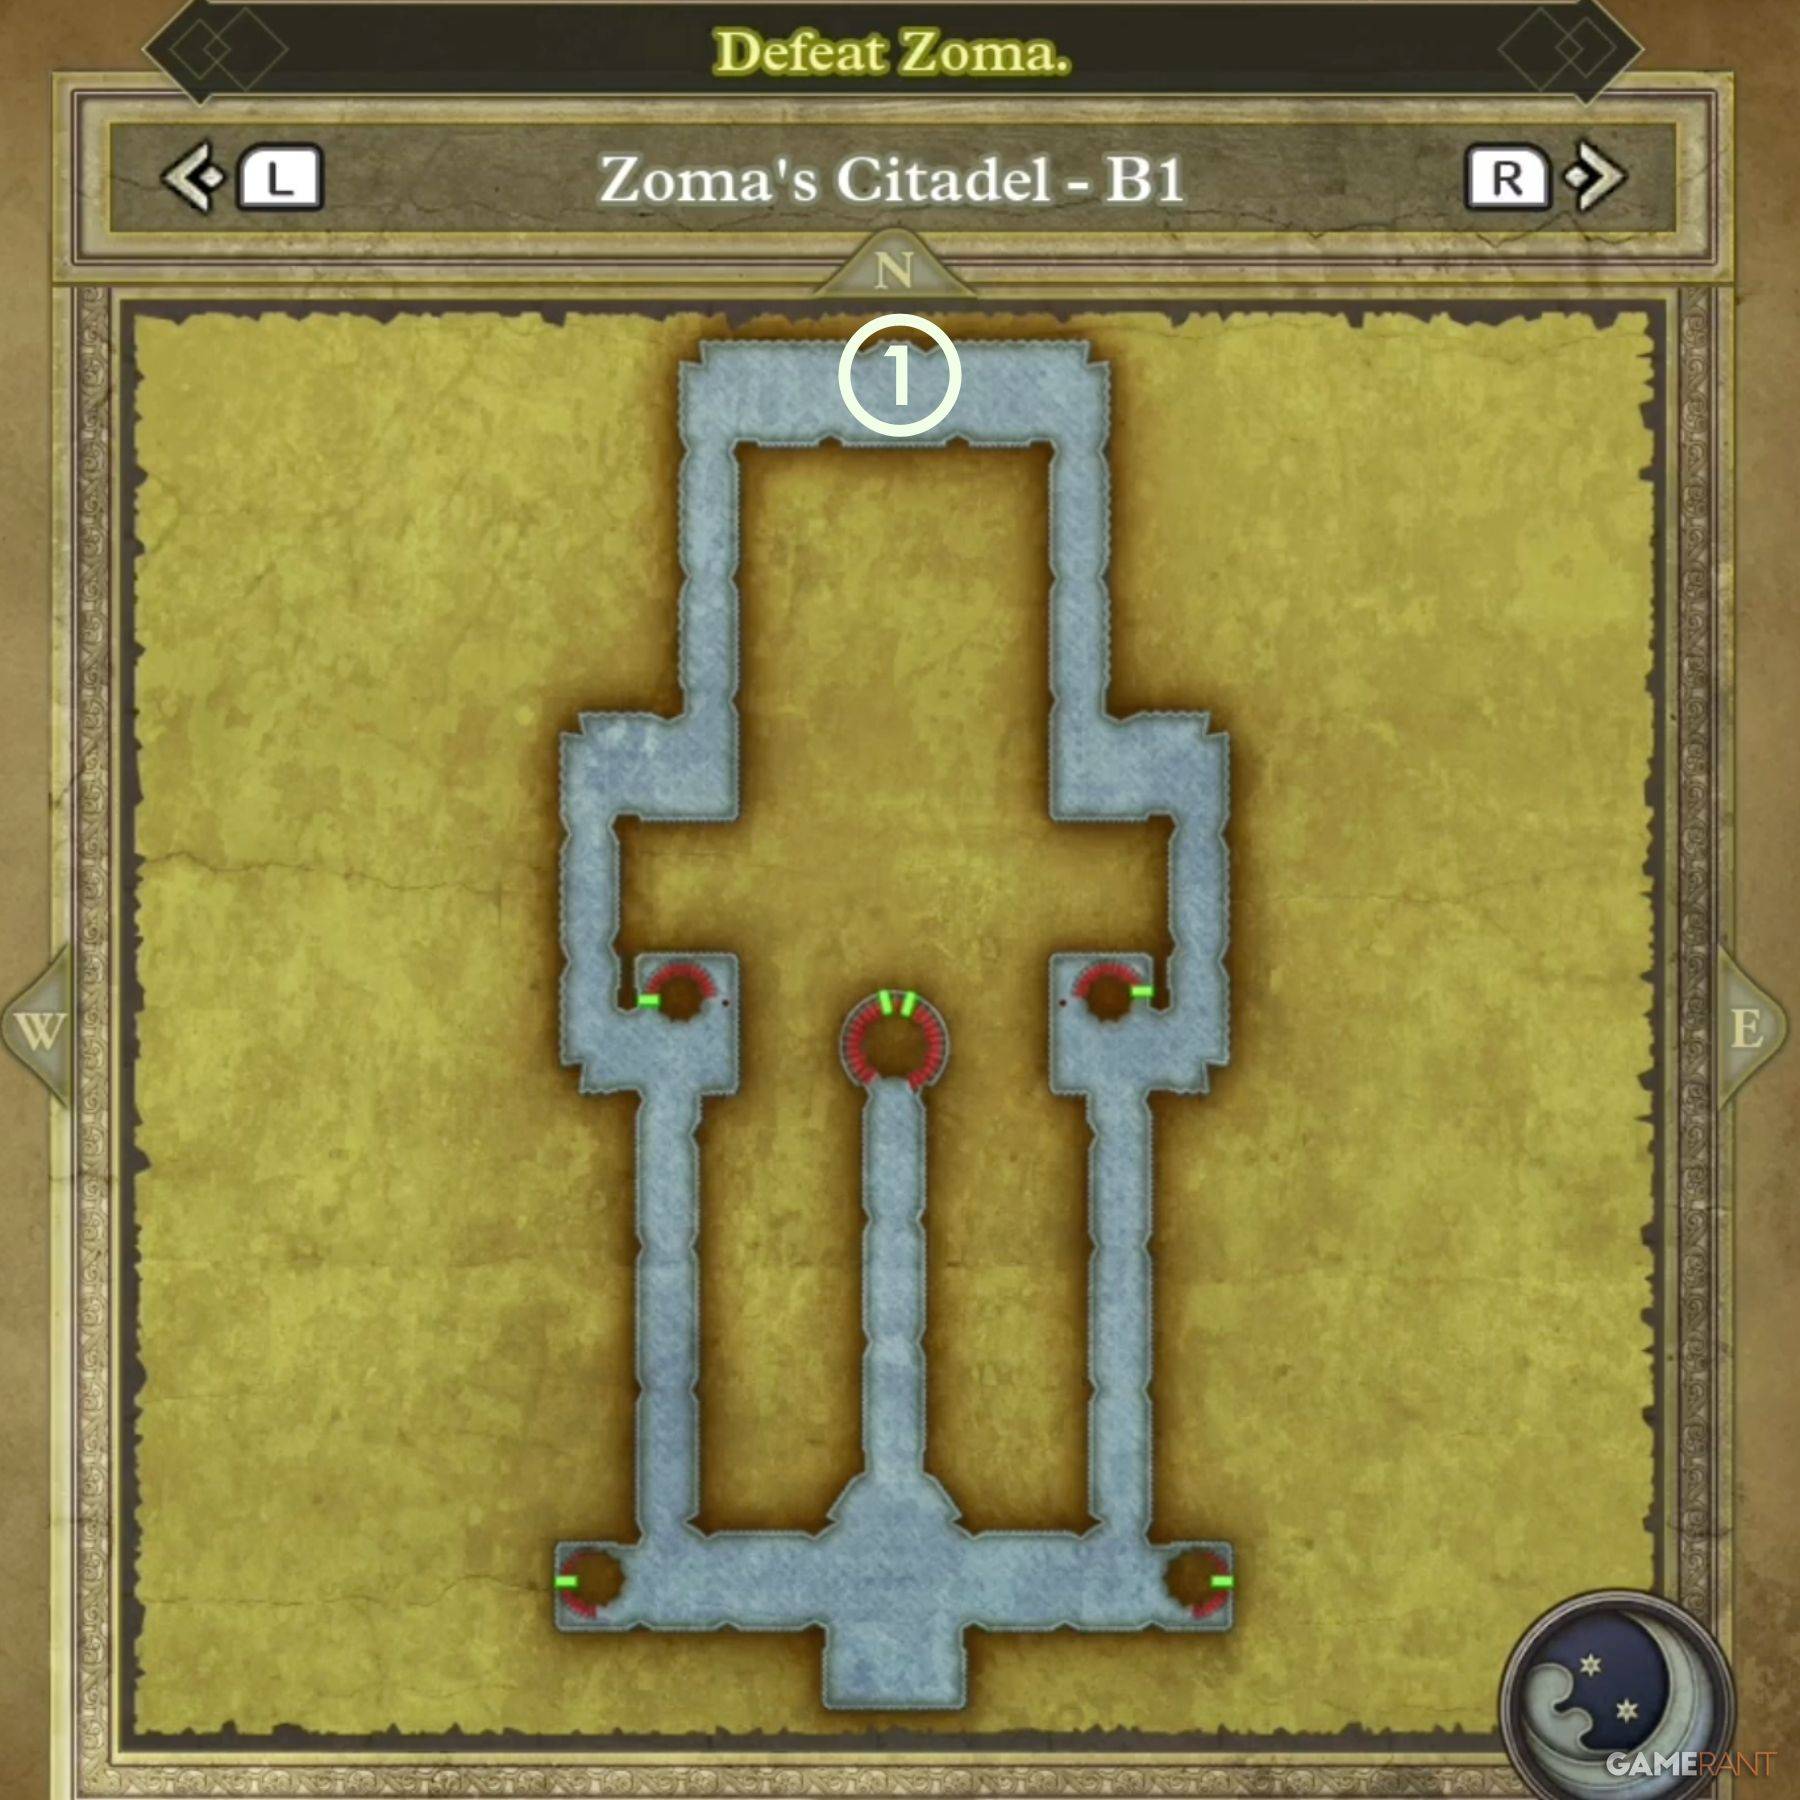
B1 is primarily a passage to B2, unless you use the alternate stair sets on 1F. The isolated chamber contains:
- Treasure 1 (Chest): Hapless Helm
Zoma's Citadel B2
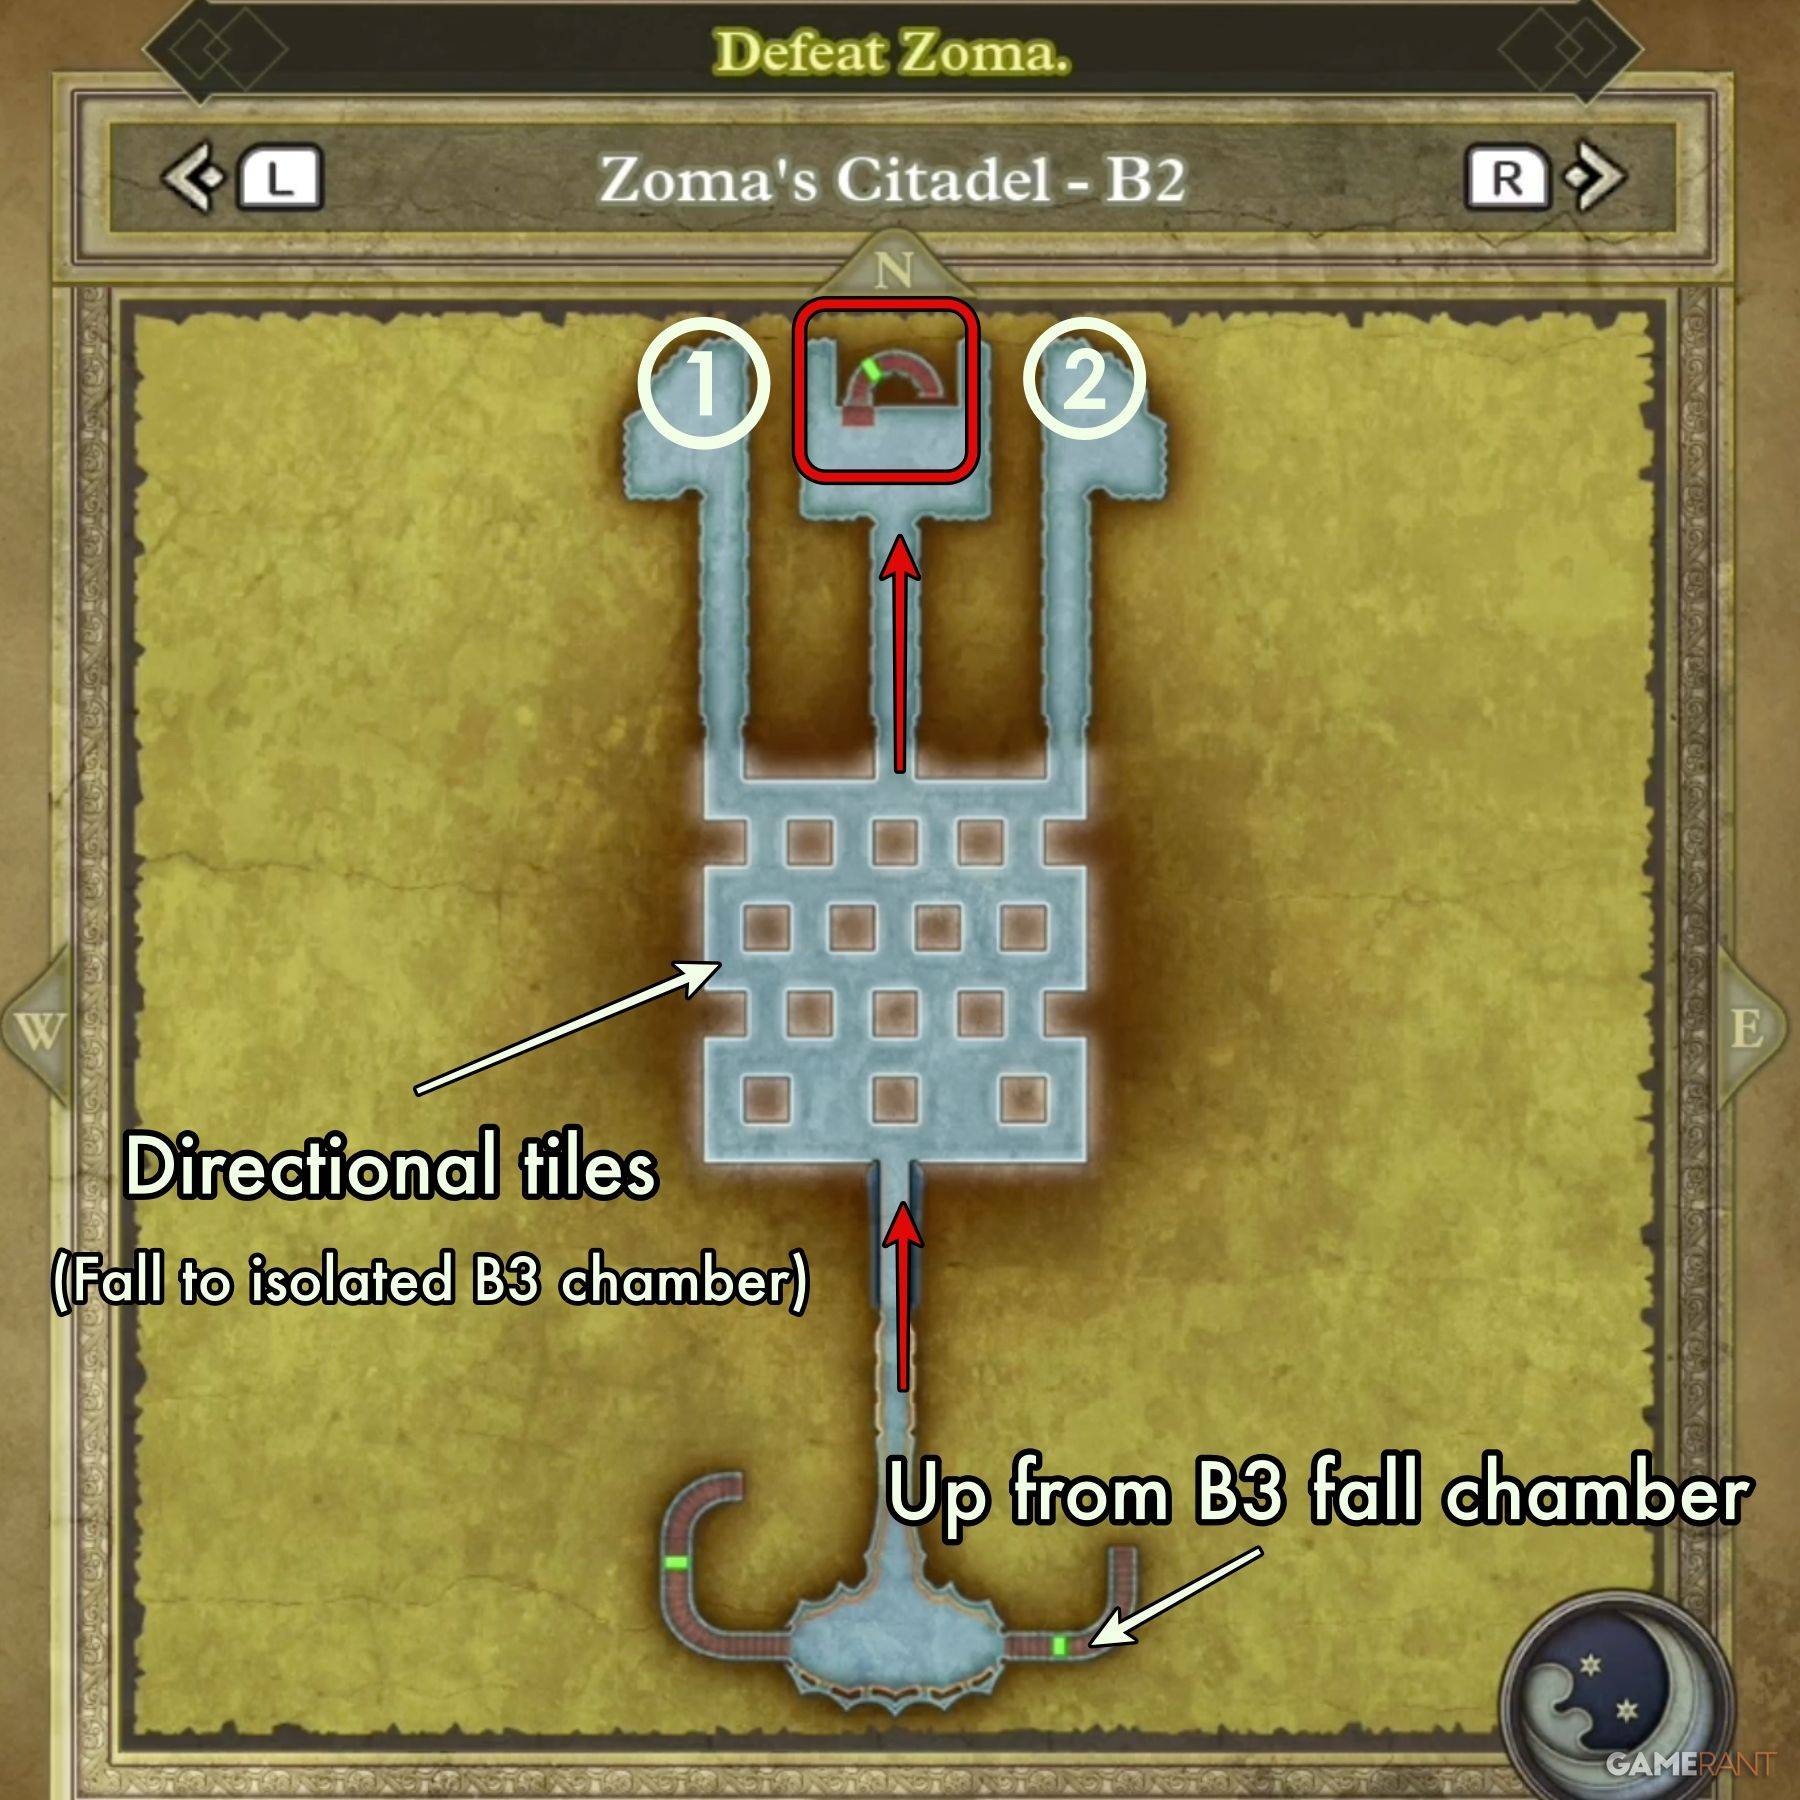
This floor features directional tiles. Practice on the Tower of Rubiss's third floor if needed. The key is understanding the tile's color-direction correlation. Blue/Orange indicate North/South, while the orange arrow's direction (relative to your desired direction) determines Up/Down presses. Treasure includes:
- Treasure 1 (Chest): Scourge Whip
- Treasure 2 (Chest): 4,989 Gold Coins
Zoma's Citadel B3

The main path circles the chamber. A detour to the southwest reveals Sky, a friendly monster. A separate, isolated chamber (accessible by falling through holes on B2) contains a Liquid Metal Slime and:
- Treasure 1 (Chest): Bastard Sword
The main chamber holds:
- Treasure 1 (Chest): Dragon Dojo Duds
- Treasure 2 (Chest): Double-Edged Sword
Zoma's Citadel B4
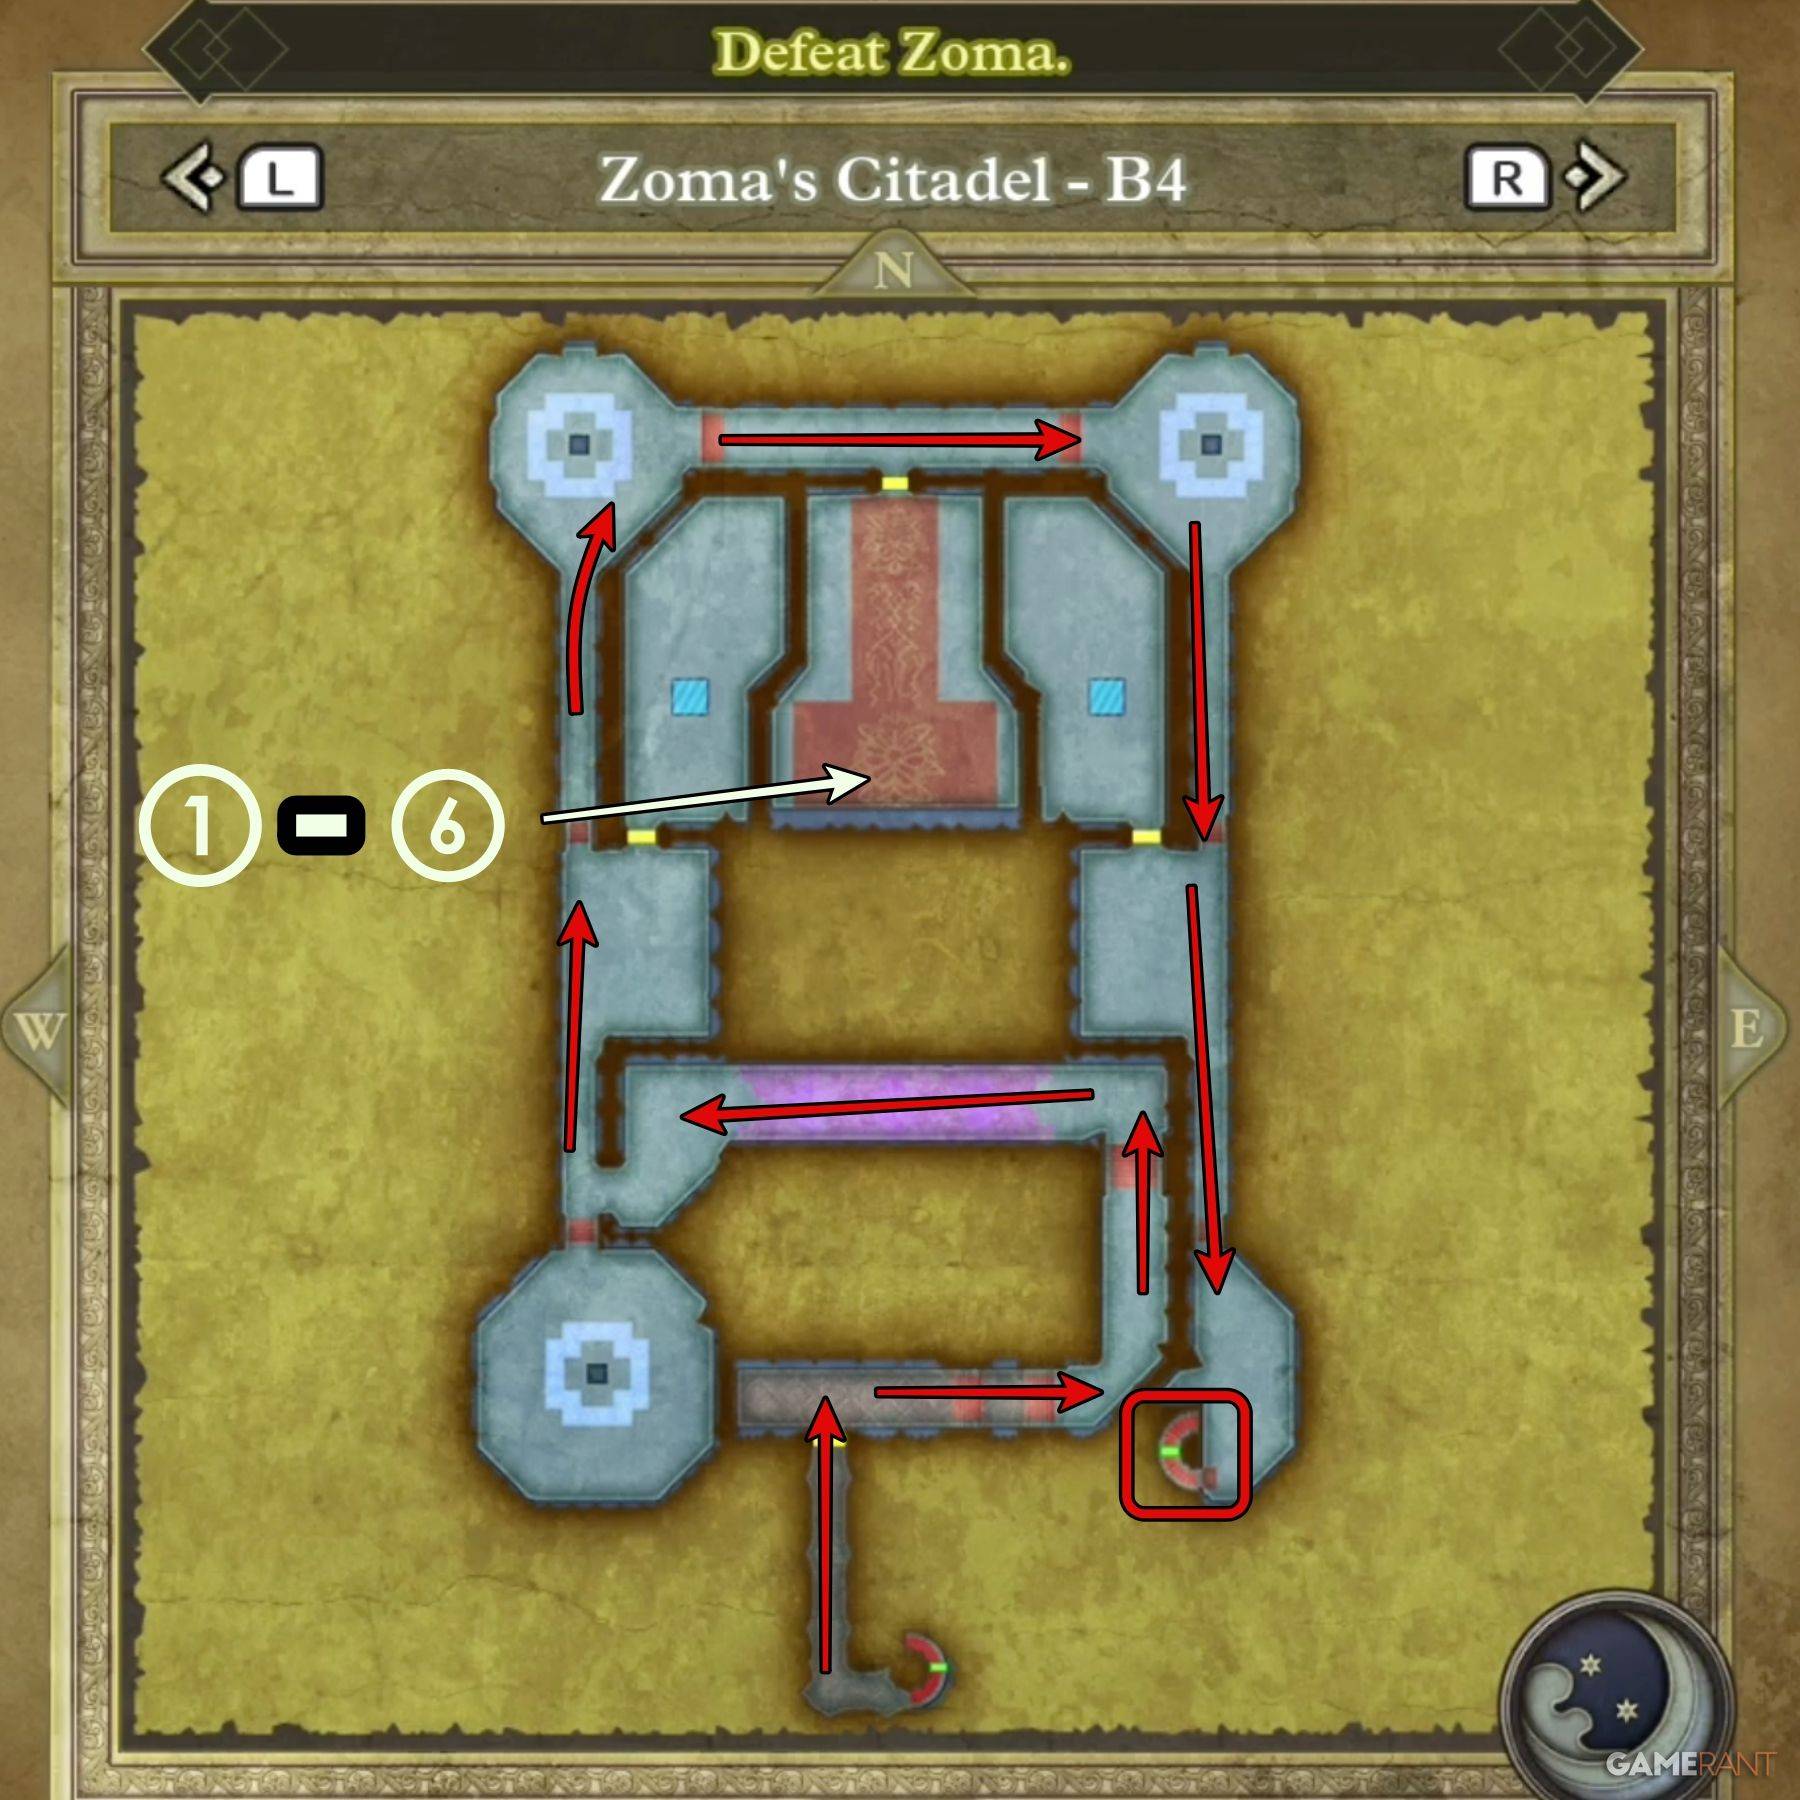
Navigate from the south-center, upwards, and then to the southeast exit. Watch the cutscene upon entering. Six chests await:
- Treasure 1 (Chest): Shimmering Dress
- Treasure 2 (Chest): Prayer Ring
- Treasure 3 (Chest): Sage's Stone
- Treasure 4 (Chest): Yggdrasil Leaf
- Treasure 5 (Chest): Dieamend
- Treasure 6 (Chest): Mini Medal
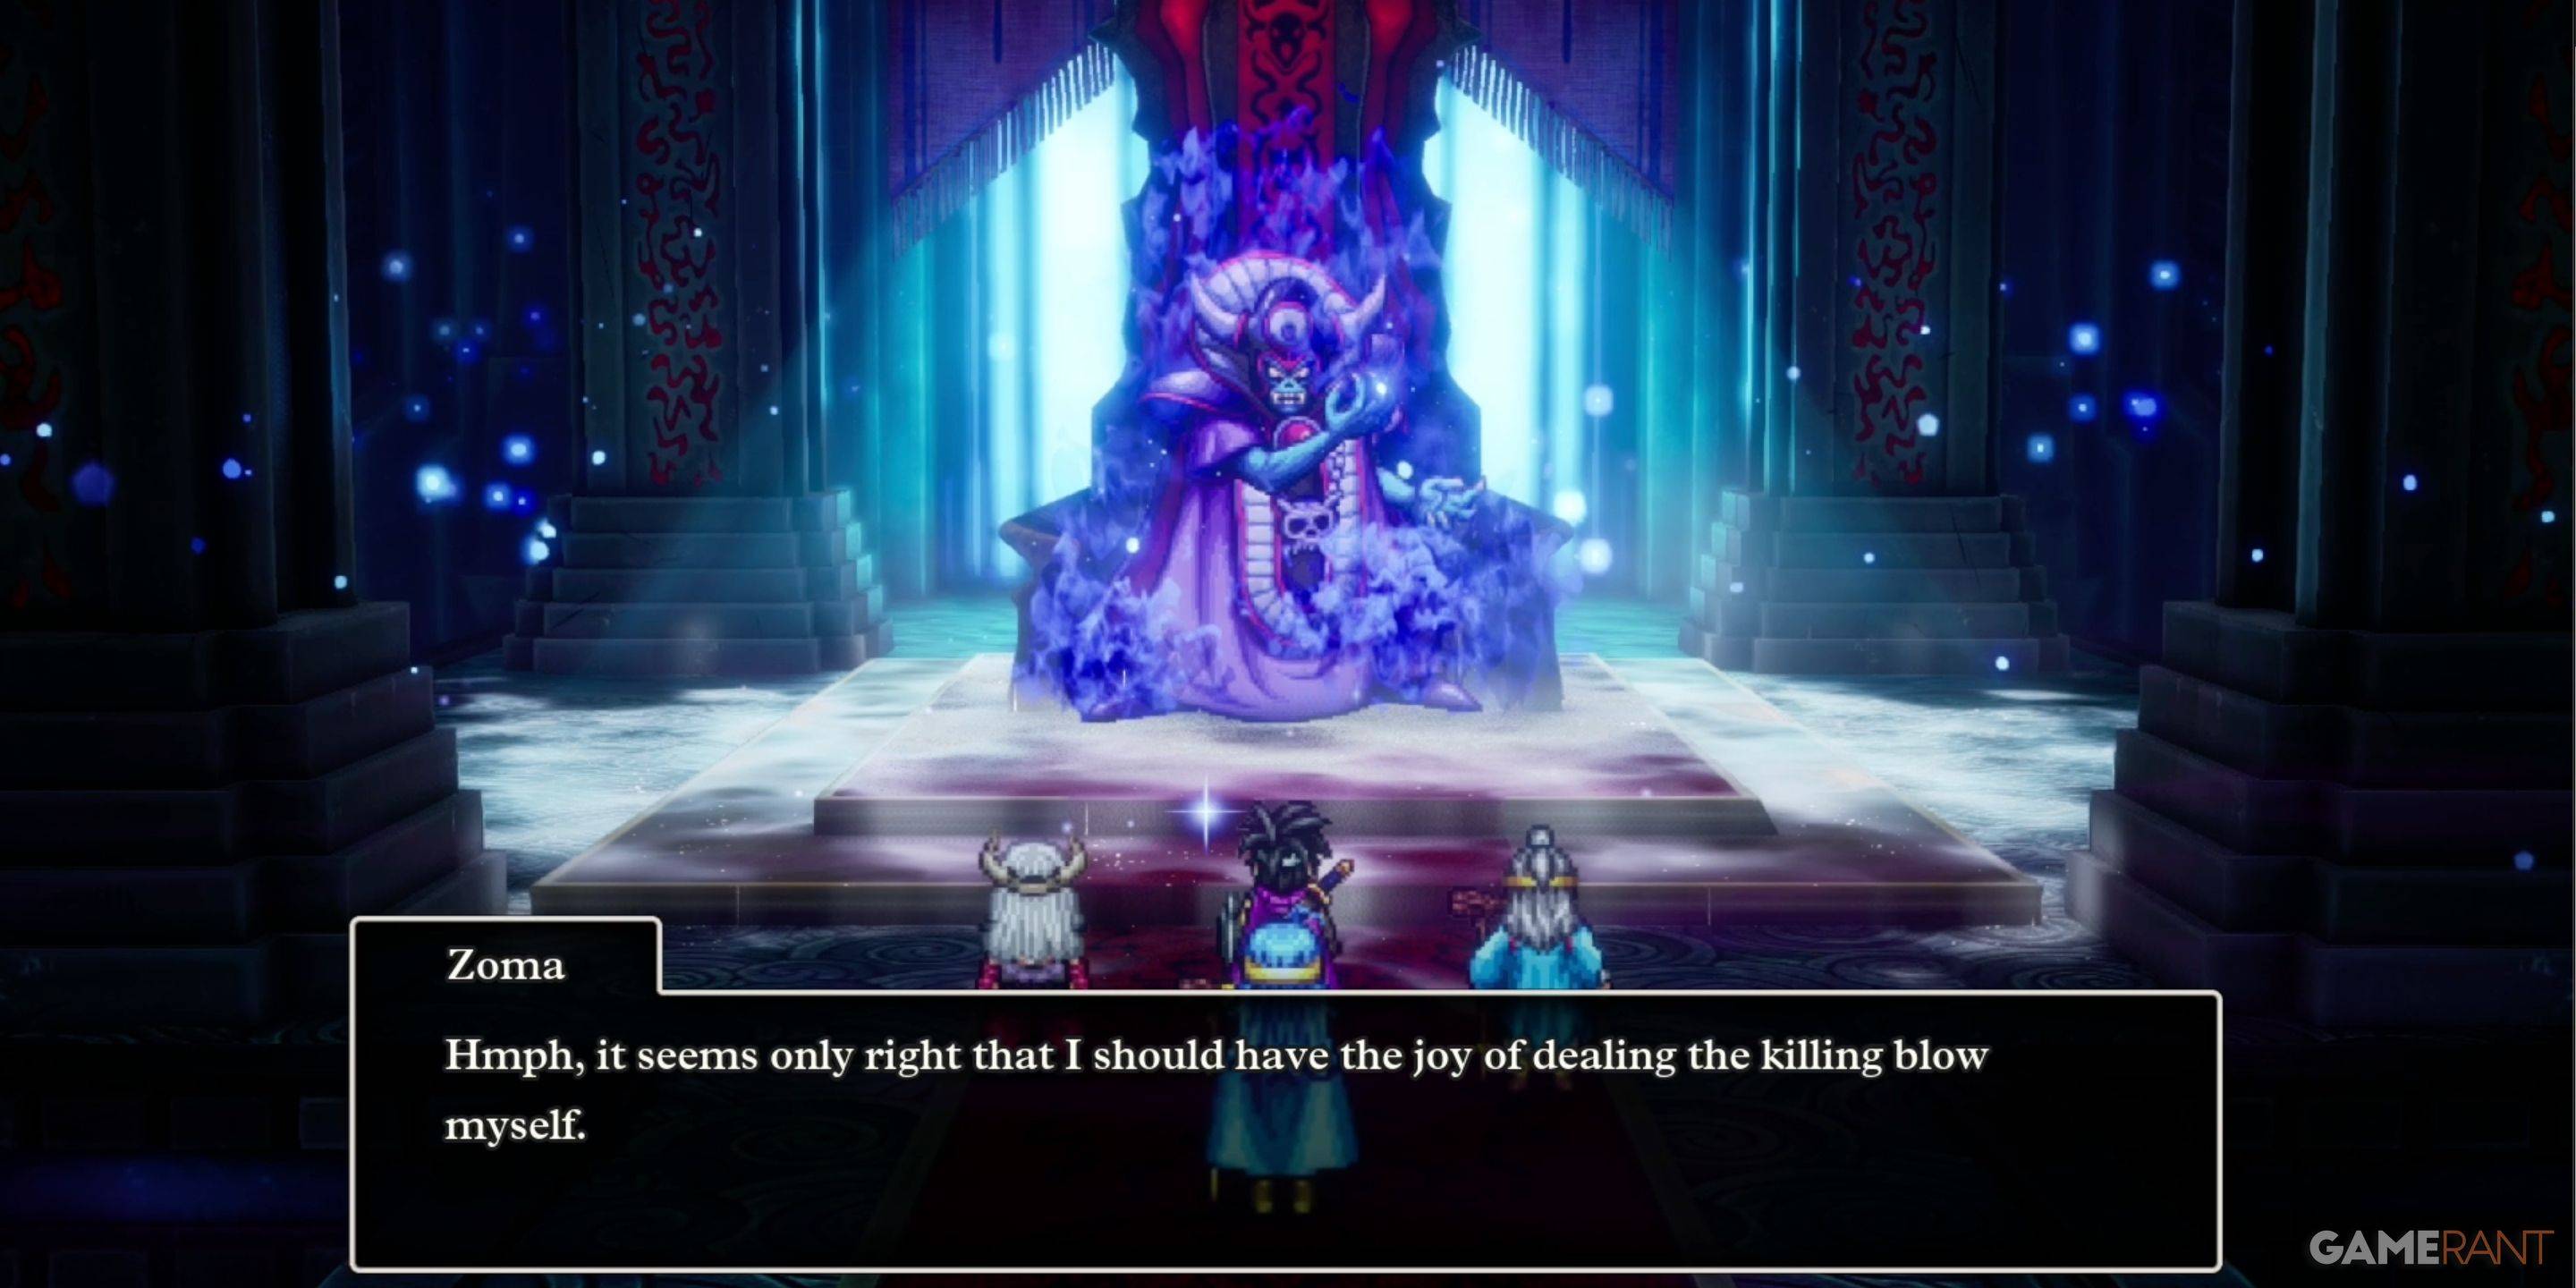
Defeating Zoma
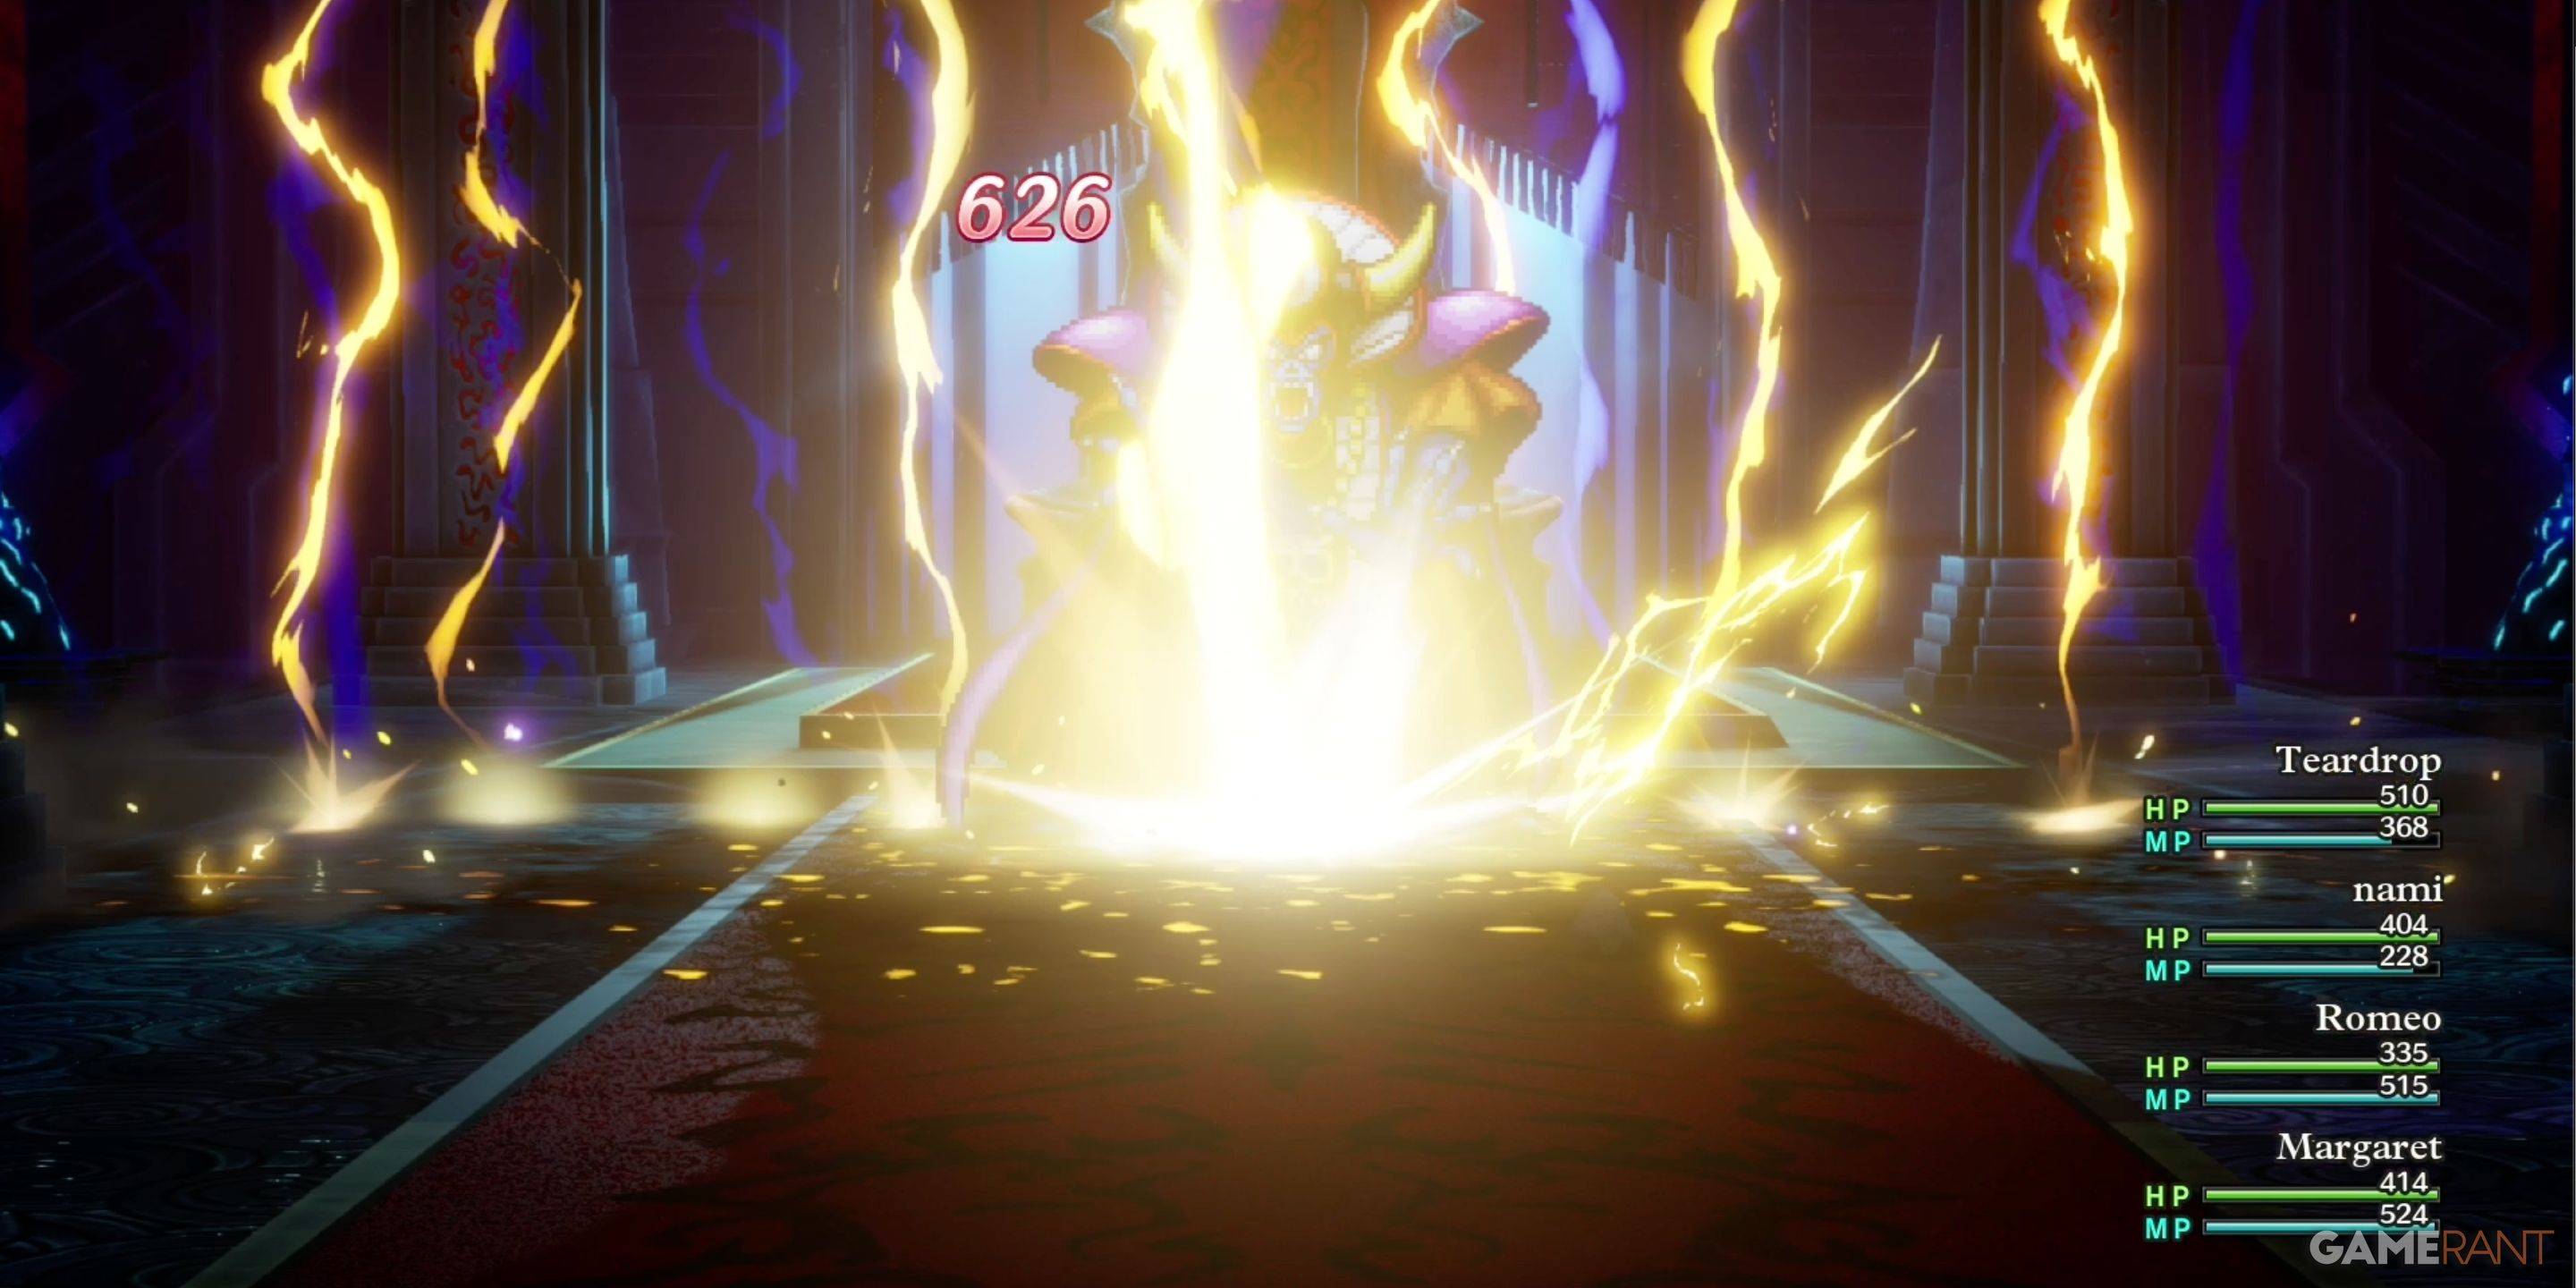
Before facing Zoma, you'll battle the King Hydra, Soul of Baramos, and Bones of Baramos. Use items between fights. Strategies for each boss are detailed below, but generally focus on exploiting weaknesses and managing party health.
- King Hydra: Vulnerable to Kazap. Aggressive tactics are effective.
- Soul of Baramos: Weak to Zap.
- Bones of Baramos: Similar weaknesses to the Soul, but hits harder.
Zoma's fight requires a strategic approach. Initially conserve MP; Zoma has a magic barrier. Use the Sphere of Light to remove the barrier, then exploit Zoma's Zap weakness. Prioritize party health and revival. Buffs, debuffs, and damage reflection are beneficial.

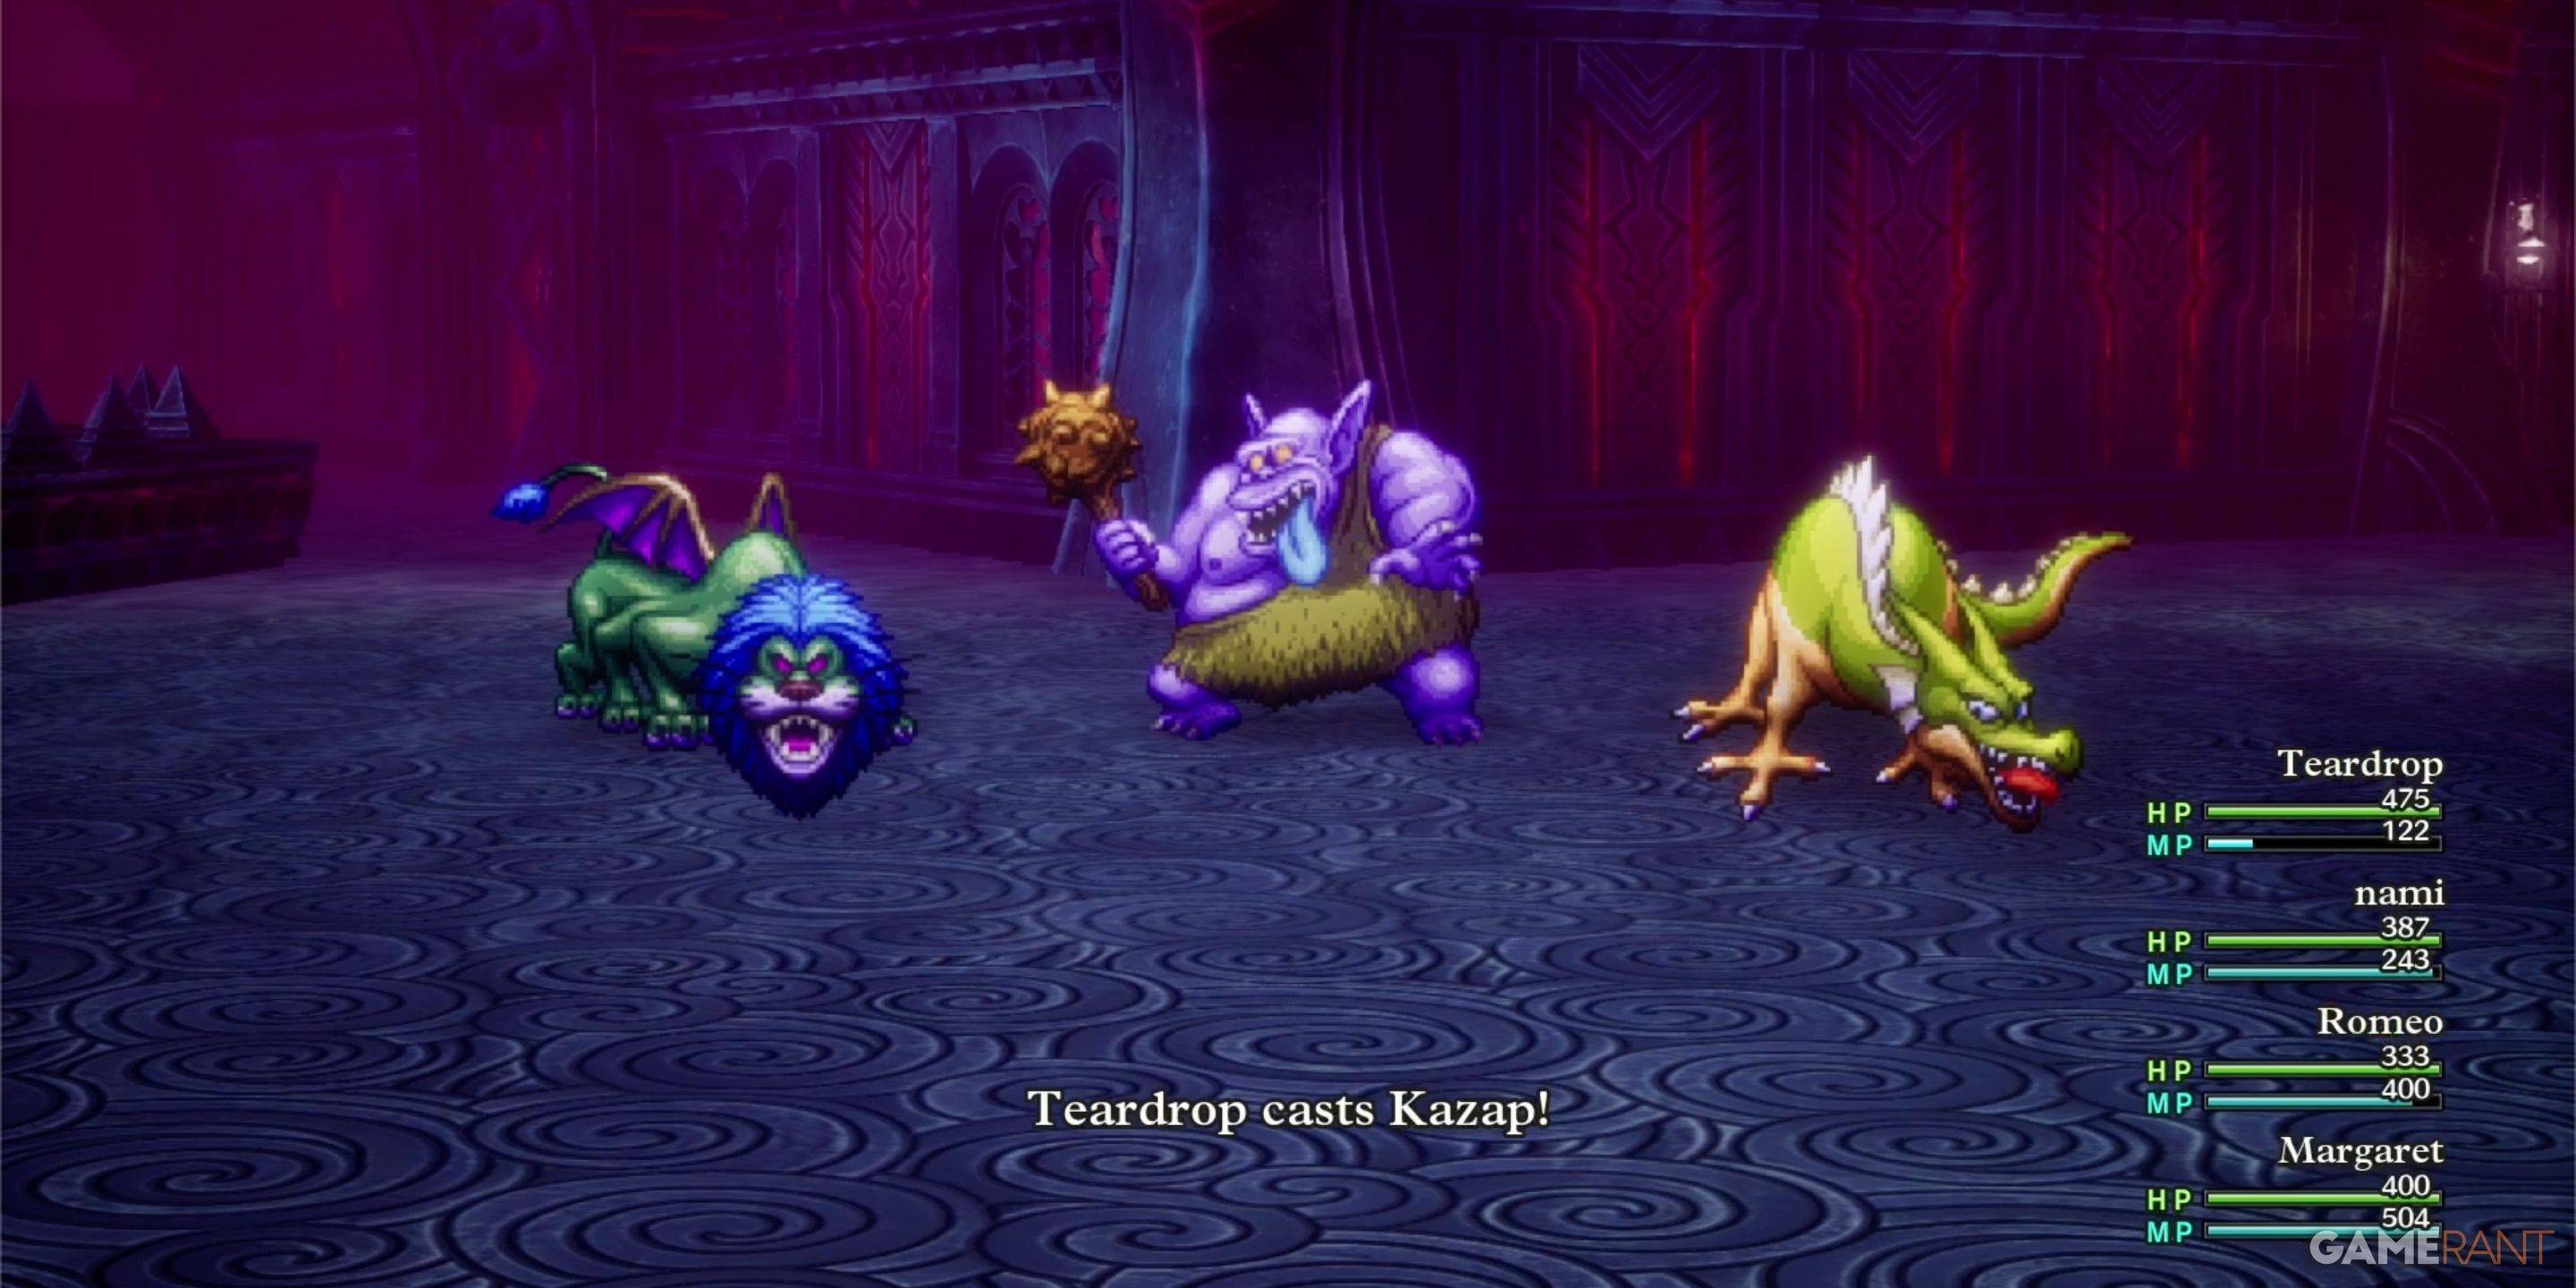
Every Monster in Zoma's Citadel
| Monster Name | Weakness |
|---|---|
| Dragon Zombie | None |
| Franticore | None |
| Great Troll | Zap |
| Green Dragon | None |
| Hocus-Poker | None |
| Hydra | None |
| Infernal Serpent | None |
| One-Man Army | Zap |
| Soaring Scourger | Zap |
| Troobloovoodoo | Zap |
This comprehensive guide will help you successfully navigate Zoma's Citadel and emerge victorious!
-
Lego Batman: Legacy of the Dark Knight Lego Batman: Legacy of the Dark Knight has been unveiled during Gamescom’s Opening Night Live, showcasing an expansive open-world Gotham City you can explore in the iconic Batmobile. The highly anticipated projeAuthor : Ava Mar 25,2026
-
 East Side Games Group is merging two wildly different universes in an exhilarating crossover. Trailer Park Boys: Greasy Money is joining forces with All Elite Wrestling: Rise to The Top. This special event begins on March 27th at 2:00 PM PT, deliveriAuthor : Sarah Mar 17,2026


- Classic WoW vs. Turtle WoW: 6 Key Differences
- Ultimate Guide to Shinigami Progression in Hollow Era
- Mastering Two-Handed Weapons in Elden Ring: A Guide
- Roblox Simulator Codes: Unlock Exclusive Rewards!
- Wuthering Waves: Uncover the Secrets of Whisperwind Haven's Palette
- Top 25 Palworld Mods to Enhance Your Game