How to Install Minecraft on a Chromebook: A Step-by-Step Guide
Minecraft is a globally renowned game that's accessible on nearly every device, including Chromebooks, which run on Chrome OS. Many users are curious about the possibility of playing Minecraft on a Chromebook, and the answer is a resounding yes!
In this comprehensive guide, we'll walk you through the installation process and offer tips to enhance performance on your Chromebook.
Table of Contents
- General Information About Minecraft on a Chromebook
- Enabling Developer Mode
- Installing Minecraft on Chromebook
- Running the Game
- How to Play Minecraft on a Chromebook with Low Specs
- Enhancing Performance on Chrome OS
General Information About Minecraft on a Chromebook
For a stable gaming experience on your Chromebook, the following specifications are essential:
- System Architecture: 64-bit (x86_64, arm64-v8a)
- Processor: AMD A4-9120C, Intel Celeron N4000, Intel 3865U, Intel i3-7130U, Intel m3-8100Y, Mediatek Kompanio 500 (MT8183), Qualcomm SC7180 or better
- RAM: 4 GB
- Storage: At least 1 GB of free space
These are the minimum requirements needed to run Minecraft smoothly on a Chromebook. If you encounter performance issues, we've included a guide at the end to help optimize your gameplay. Now, let's delve into the installation process.
You can directly install the Bedrock Edition from the Google Play Store, which is quite straightforward. Simply open the store, search for Minecraft, and navigate to its page. Note that this version costs $20. However, if you already own the Android version, which costs $7, you'll only need to pay an additional $13. This method is perfect for those looking for a hassle-free installation.
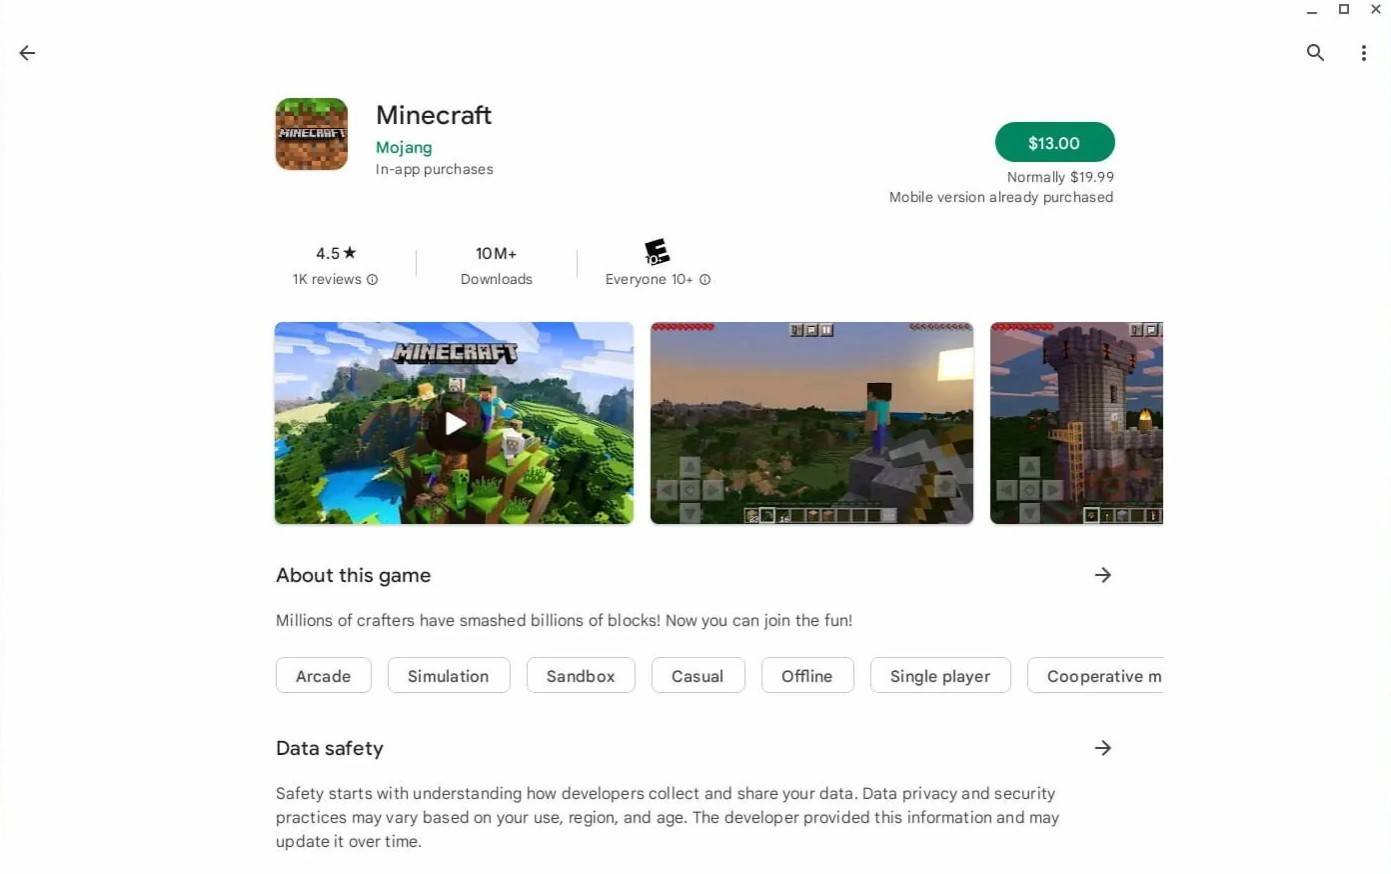
Image: aboutchromebooks.com
For those who prefer a different version, Chrome OS, being based on Linux, allows for the installation of Minecraft's Linux version. This process requires careful attention as Chrome OS differs significantly from Windows, and you'll need to enter some code. We've prepared a detailed guide to help you set up Minecraft on your Chromebook in just half an hour.
Enabling Developer Mode
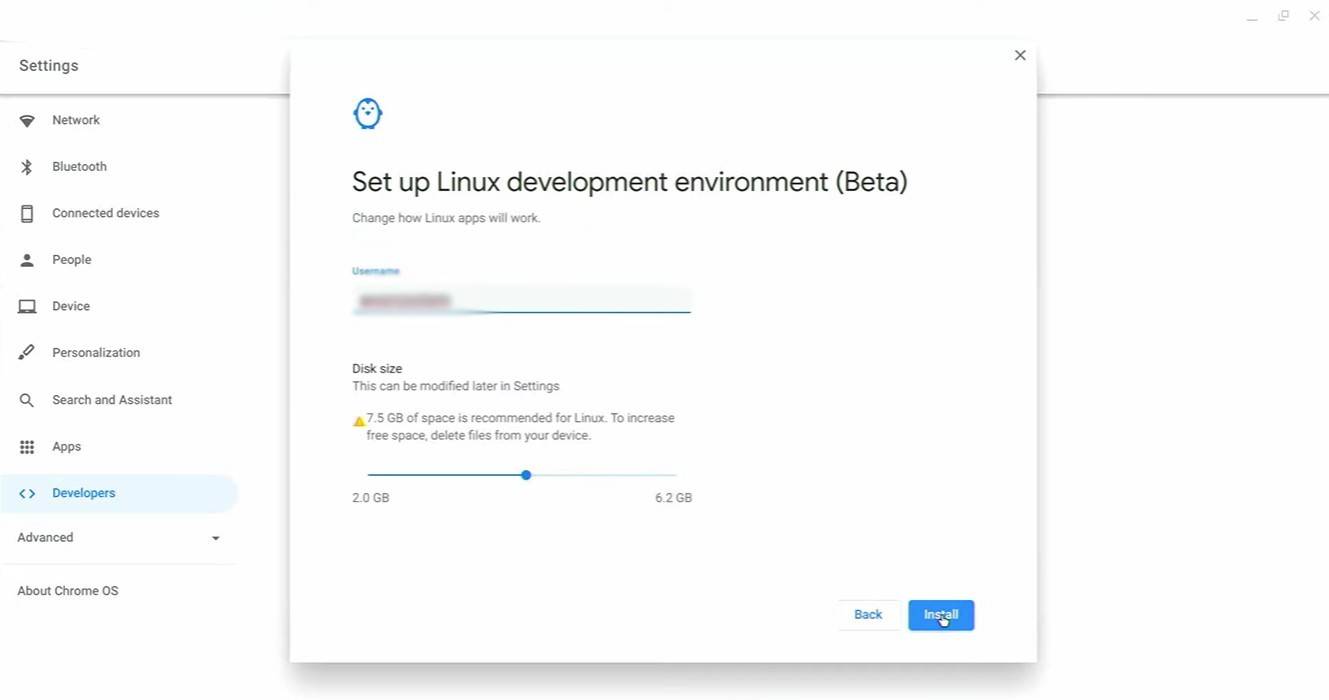
Image: youtube.com
To begin, you'll need to enable Developer Mode on your Chromebook. Navigate to the settings menu via the "Start" equivalent, go to the "Developers" section, and enable the "Linux development environment" option. Follow the prompts, and once complete, the Terminal will open. This tool, similar to the Windows command prompt, is where you'll proceed with the installation.
Installing Minecraft on Chromebook
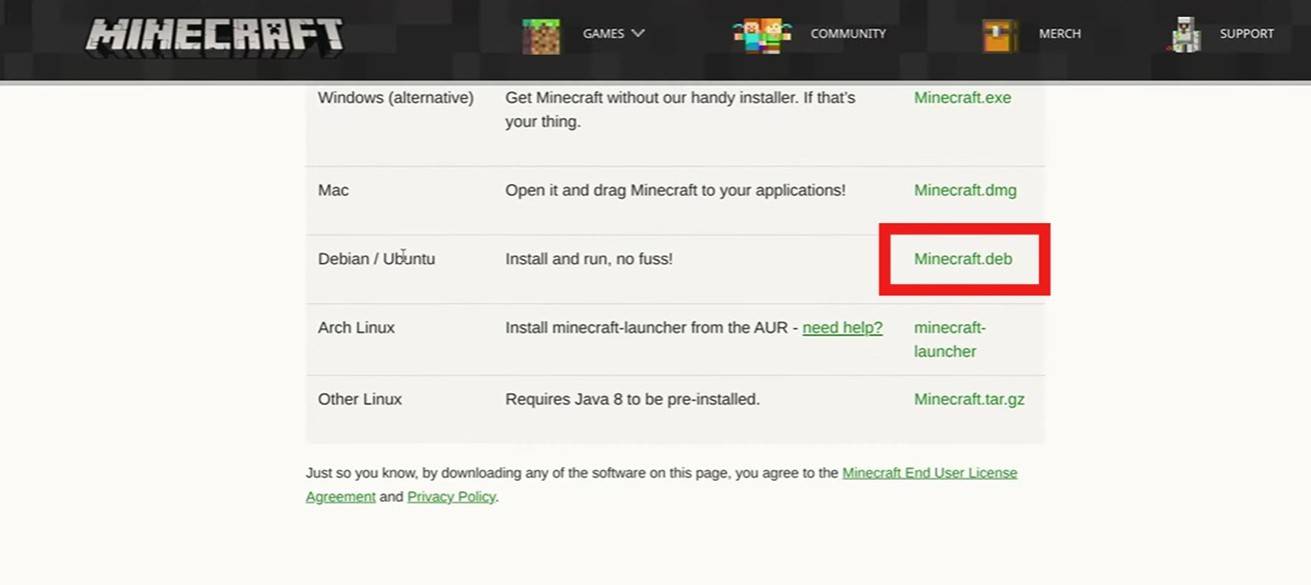
Image: youtube.com
-
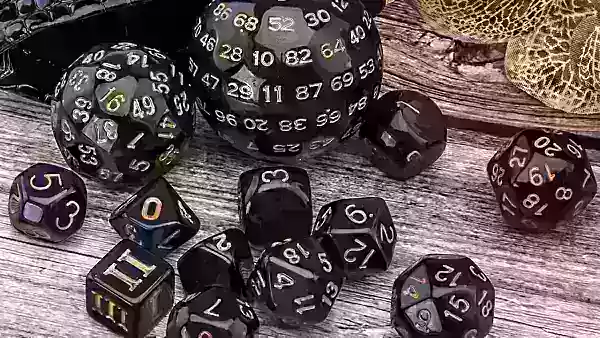 Dungeons & Dragons (D&D) is the iconic tabletop role-playing game that combines collaborative storytelling with strategic gameplay through dice mechanics. Fueled by mainstream hits like the "Honor Among Thieves" movie and Baldur's Gate 3's success, tAuthor : Dylan Feb 24,2026
 -
 Randy Pitchford has responded to the criticism surrounding his controversial "$80 for real fans" tweet about Borderlands 4 after someone transformed it using a Handsome Jack AI voice.The backlash began when Pitchford replied to a concerned fan worrieAuthor : Ethan Feb 23,2026
-
 Mask Evolution: 3D Run GameDownload
 -
 Weekend Lollygagging modDownload
 -
 Cartoons QuizDownload
 -
 Siêu hũ Thiên Thai CLUBDownload
 -
 4 Фото 1 Слово. Где логика?Download
 -
 Words Crush: Hidden Words!Download
 -
 High Neck RunDownload
 -
 Game Tổng hợpDownload
 -
 Journey to BlissDownload
 -
 Zombie Sniper War 3Download


- Classic WoW vs. Turtle WoW: 6 Key Differences
- Mastering Two-Handed Weapons in Elden Ring: A Guide
- Roblox Simulator Codes: Unlock Exclusive Rewards!
- Wuthering Waves: Uncover the Secrets of Whisperwind Haven's Palette
- Ultimate Guide to Shinigami Progression in Hollow Era
- Top 25 Palworld Mods to Enhance Your Game