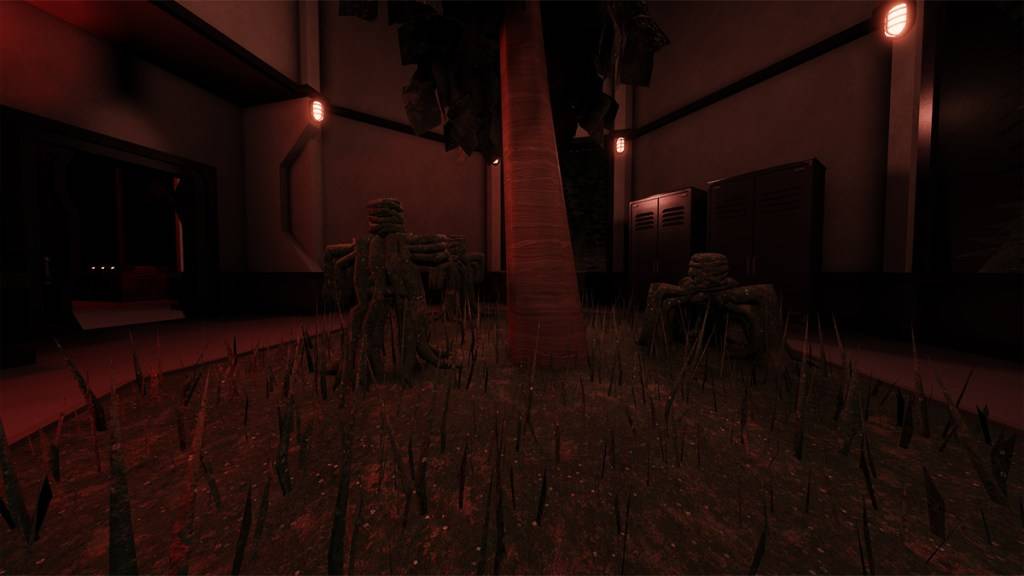
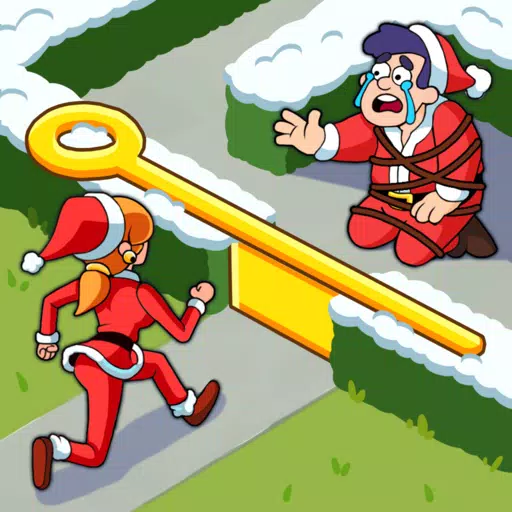
All Monsters in Pressure And How to Survive Them – Roblox
Mastering Roblox's *Pressure* hinges on understanding each monster's unique behavior to conquer every room. While some monsters share similar strategies, others demand specific tactics. This guide details every creature in *Pressure* and how to survive their encounters.
Recommended Videos
Table of contents
-----------------How to Survive All Monsters in Pressure Pandemonium Good People Eyefestation Squiddles Locker Void-Mass Wall Dweller Redeemer and Hanger Candlebearers & Candlebrutes The Angler Pinkie Froger Chainsmoker Blitz Bottomfeeder The DiVine How to Survive All Monsters in Pressure
This guide outlines how to defeat every monster in *Pressure*. Some are random encounters; others are Node monsters following specific paths, and some, like The DiVine, appear in specific areas like Oxygen Gardens. Learn the specific strategies and cues to effectively evade or counter each monster. Remember, prolonged hiding triggers Cleithrophobia, forcing you out of cover, so timing is crucial. Don't hide too early; instead, watch for the telltale signs detailed below.
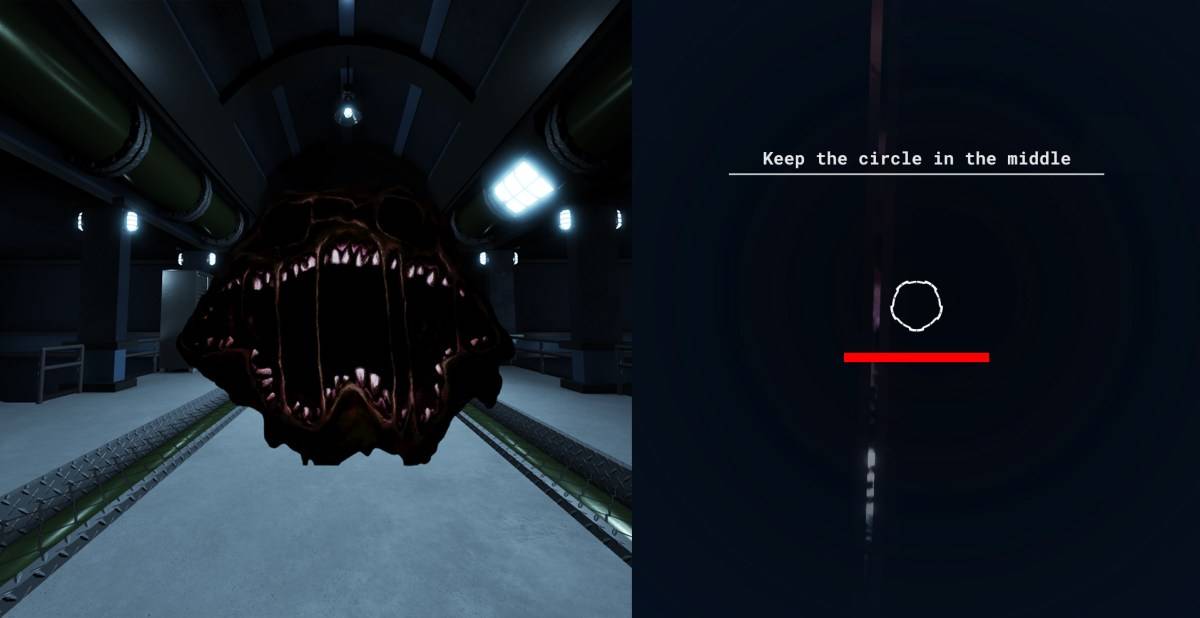
Pandemonium
Good People

Fake Door Cues: Listen for breathing, growling, sparks, or scanlines on the navi-path sign near a door before opening it. These indicate Good People. Dark Rooms: In dark rooms, the navi-path for fake doors remains lit, while real doors are dark. HQ Messages: If HQ suggests a path without revealing the wrong one, prioritize checking for fake doors.
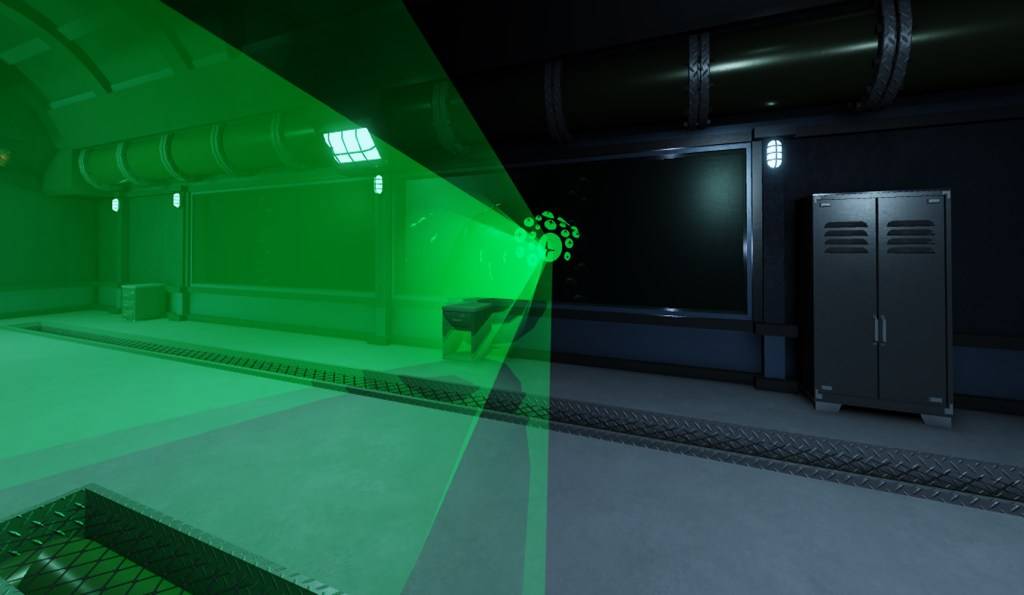
Eyefestation
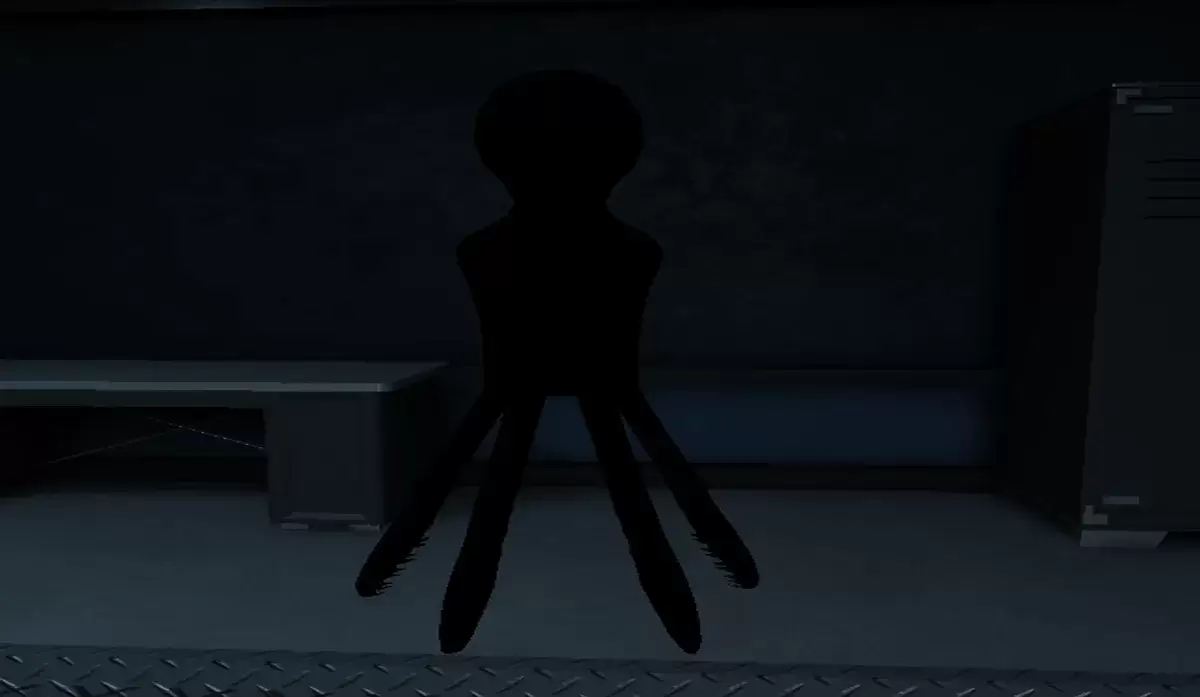
Squiddles
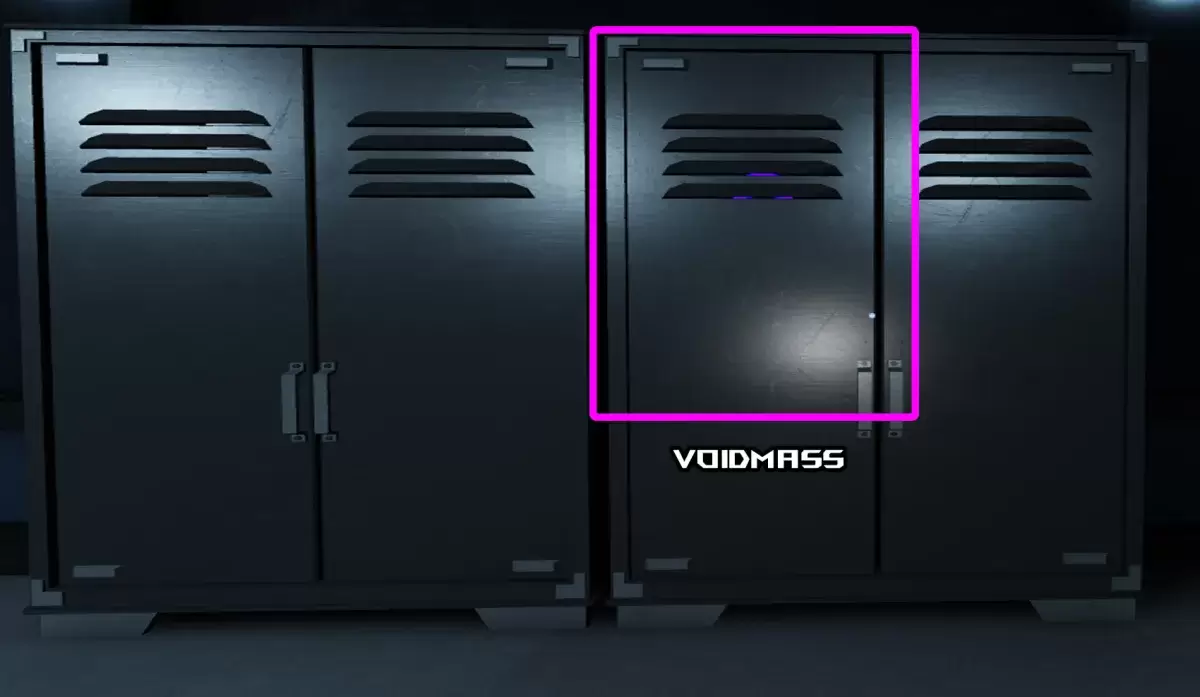
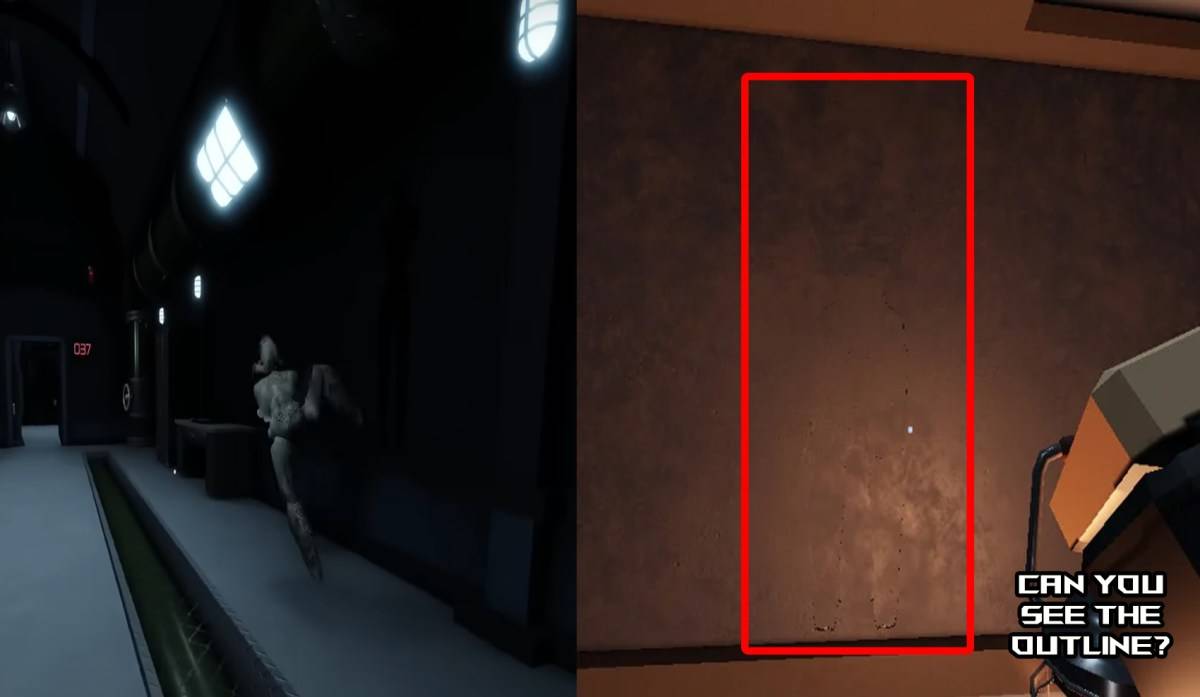
Locker Void-Mass
Wall Dweller
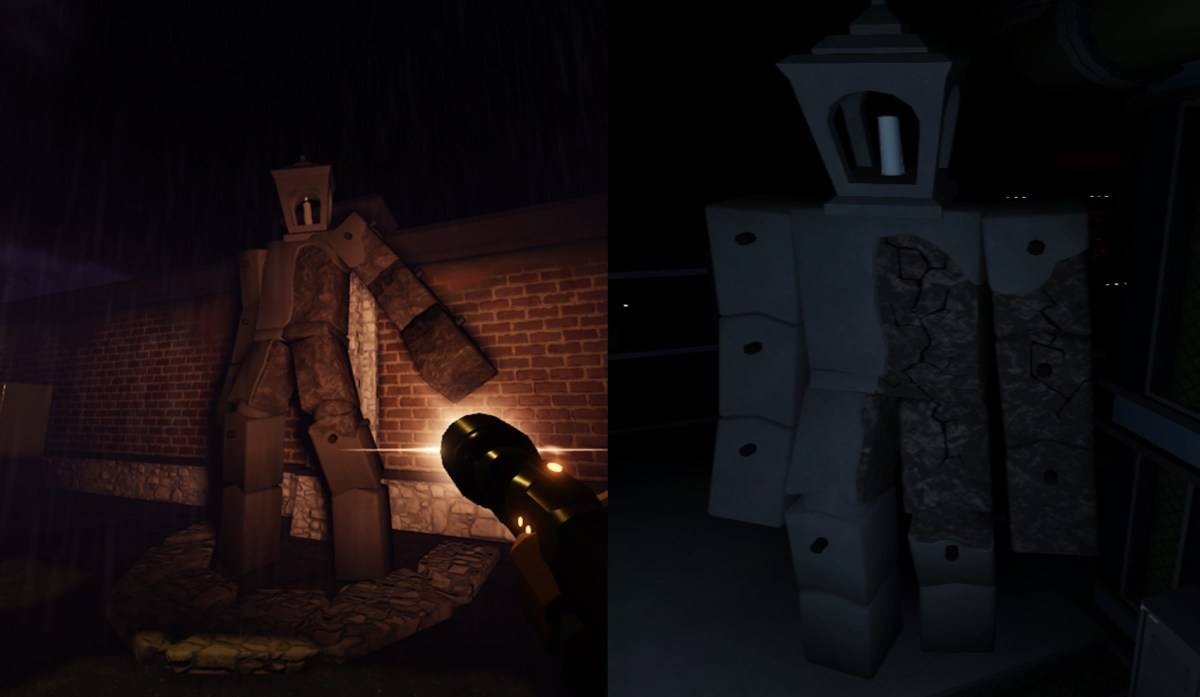
Redeemer and Hanger
Candlebearers & Candlebrutes
The Angler
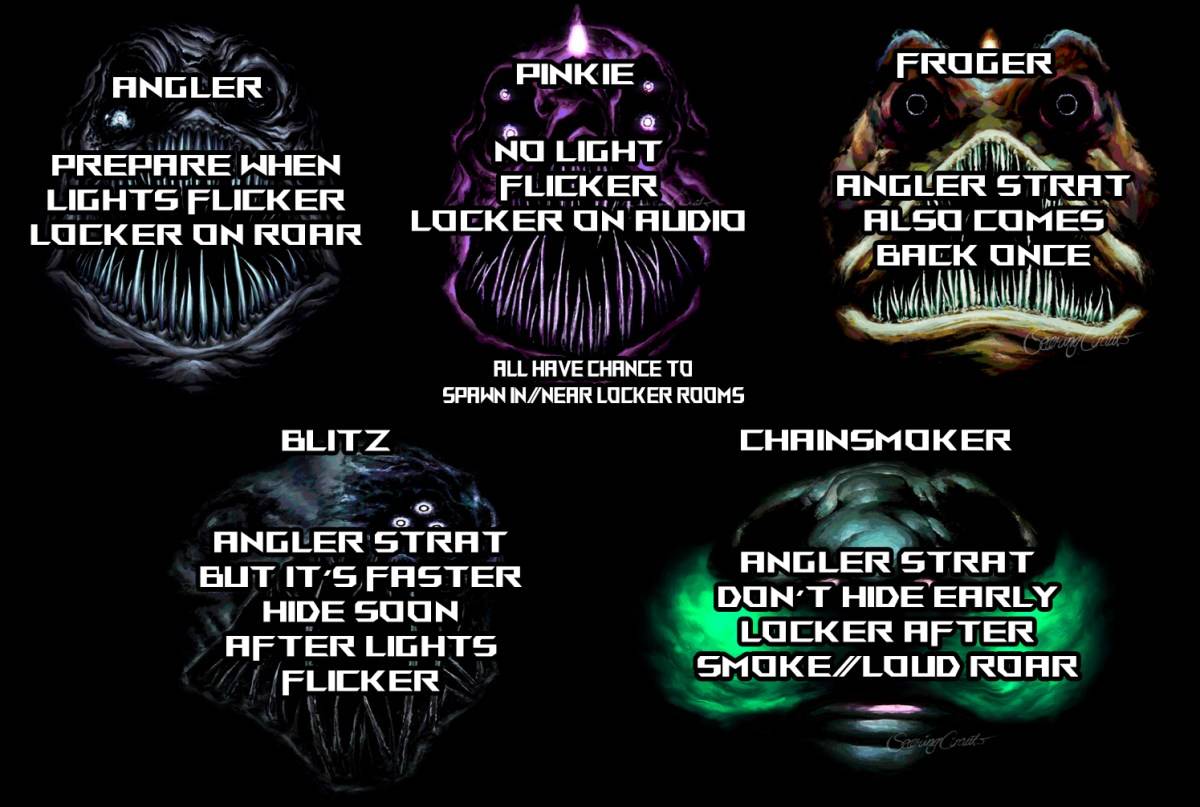
Pinkie
Pinkie is like The Angler but without the light flicker warning. A screech signals its approach; hide in a locker. It spawns only where lockers are available.
Froger
Froger is identical to The Angler (flickering lights, screech), but it rebounds after reaching the end of its path, requiring you to hide again.
Chainsmoker
The Chainsmoker (flickering lights, rattling chains) emits green smoke, forcing you out of lockers. Hide when your screen shakes; this gives you enough time before the gas pushes you out. It's one of the slowest monsters.
Blitz
Blitz is the fastest variant. A screech signals its approach; a loud roar precedes its entry into a room. Hide immediately.
Bottomfeeder

The DiVine
This guide covers all monsters in *Pressure* and how to survive. Don't forget to check our *Pressure* codes for extra rewards!
-
A new offline mode for Ubisoft’s The Crew 2 is available now, allowing owners to play the racing MMO without an internet connection if desired. The functionality—dubbed Hybrid Mode—has been fully detailed on the publisher’s website. According to UbisAuthor : Michael Mar 15,2026
-
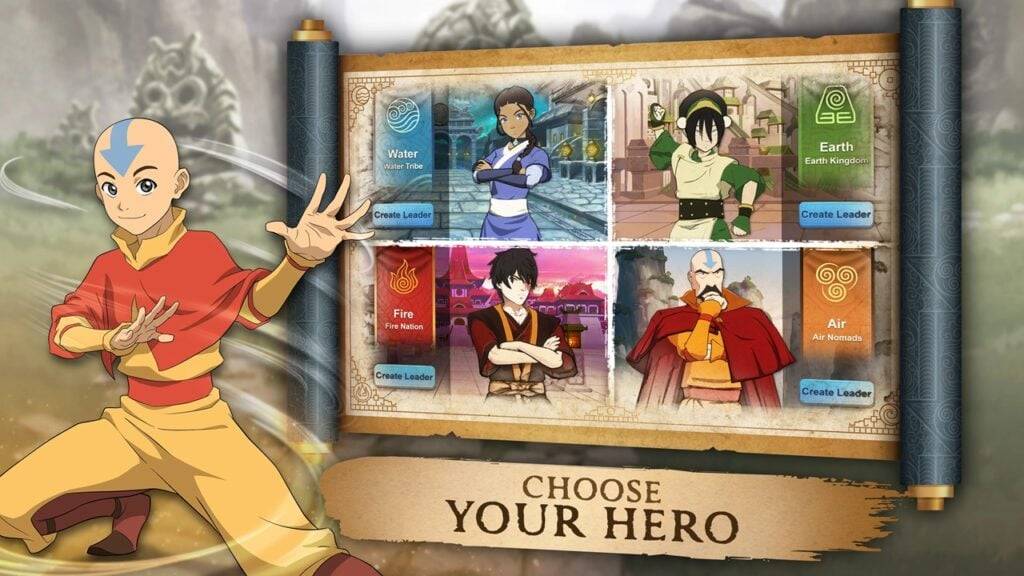 Avatar Legends: Realms Collide has officially launched on Android, offering a new 4X strategy experience within Nickelodeon's beloved Avatar universe. Developed by AN Games and published by Tilting Point, this title immerses you in a world of elementAuthor : Scarlett Mar 14,2026
-
 Word Game. Crossword Search PuDownload
 -
 Buckshot Roulette: PvP DuelDownload
 -
 4 Pics Association Word PuzzleDownload
 -
 Win68Download
 -
 Kitty LetterDownload
 -
 SwingShotDownload
 -
 The Seven Realms 3Download
 -
 Curse of the Night Stalker - Chapter 3 releaseDownload
 -
 My Home Design: My House GamesDownload
 -
 100+ RiddlesDownload


- Classic WoW vs. Turtle WoW: 6 Key Differences
- Ultimate Guide to Shinigami Progression in Hollow Era
- Roblox Simulator Codes: Unlock Exclusive Rewards!
- Mastering Two-Handed Weapons in Elden Ring: A Guide
- Wuthering Waves: Uncover the Secrets of Whisperwind Haven's Palette
- Top 25 Palworld Mods to Enhance Your Game