Ready or Not: How To Wipe Mods Without Losing All Progress
Removing Mods from Ready or Not: A Comprehensive Guide
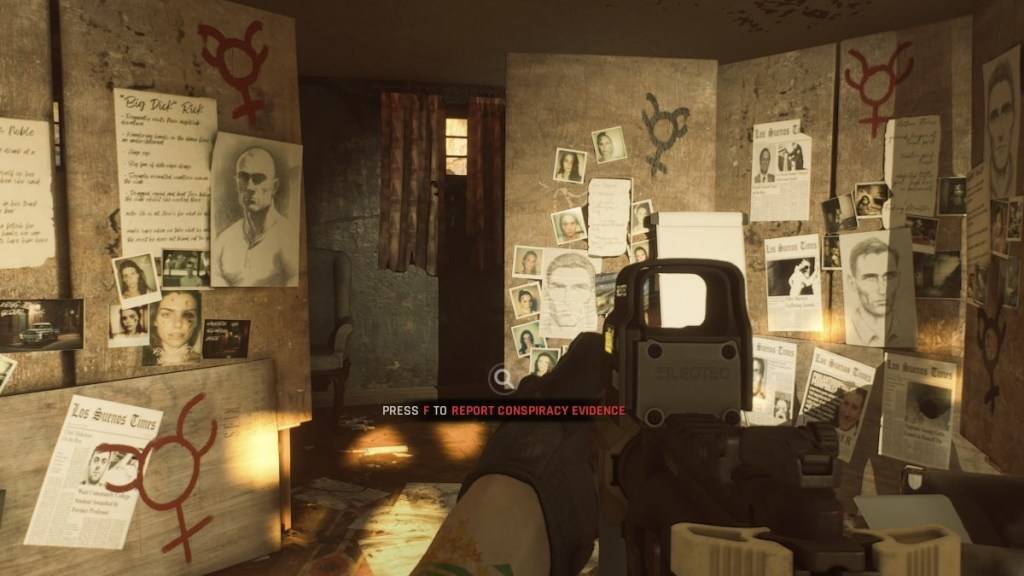
Ready or Not's modding community offers exciting enhancements, but mods can also introduce instability and prevent multiplayer with unmodded players. This guide details how to completely remove all mods.
Deleting Ready or Not Mods: Step-by-Step Instructions
Regardless of your mod installation method (Nexus Mod Manager, mod.io, etc.), follow these steps:
-
Unsubscribe: Launch Ready or Not. In the in-game Mod Menu, unsubscribe from all active mods. This prevents re-downloads after deletion. Close the game.
-
Steam File Deletion: Open Steam, right-click Ready or Not in your Library, select Properties, then Installed Files, and finally Browse. This opens the game's directory.
-
Game Directory Cleanup: Navigate to Ready Or Not > Content > Paks. Delete all files within the Paks folder. Then, delete the Paks folder itself.
-
LocalAppData Cleanup: Press Windows+R, type
%localappdata%, and press Enter. Locate the Ready or Not folder, then navigate to Ready Or Not > Saved > Paks. Delete the Paks folder here as well. -
Verify Game Files: Right-click Ready or Not in Steam, go to Properties > Installed Files > Verify Integrity of Game Files. This ensures no corrupted files remain.
-
Optional Reinstall: For a completely clean slate (recommended if you're not planning to use mods again), consider reinstalling Ready or Not.
Why Delete Mods?
While mods add content and features, they can also introduce errors, bugs, and glitches. A clean mod removal often resolves these issues. Furthermore, mods prevent multiplayer with friends who haven't installed the same mods. Removing mods ensures compatibility and smooth online play.
Ready or Not is available now on PC.
-
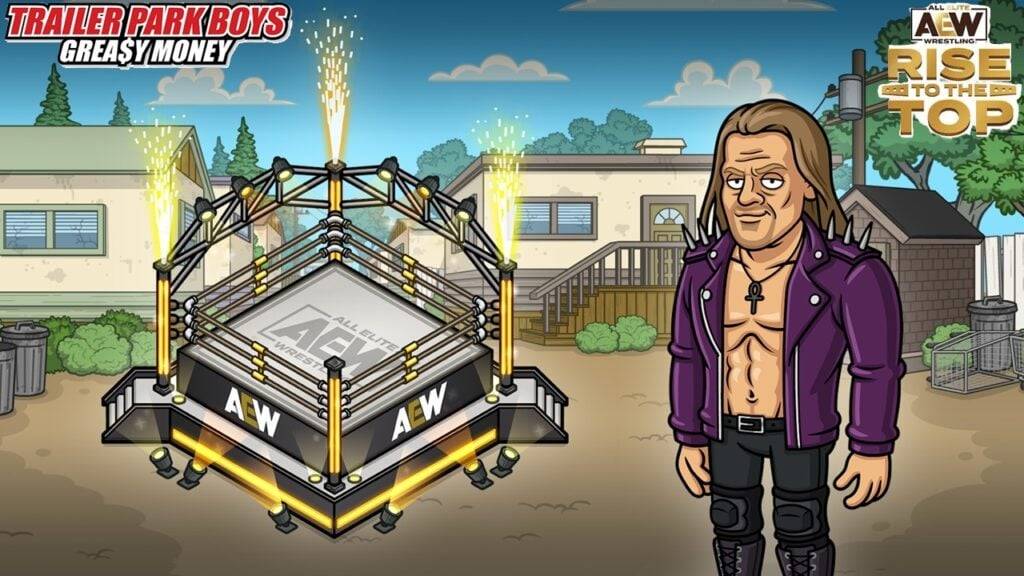 East Side Games Group is merging two wildly different universes in an exhilarating crossover. Trailer Park Boys: Greasy Money is joining forces with All Elite Wrestling: Rise to The Top. This special event begins on March 27th at 2:00 PM PT, deliveriAuthor : Sarah Mar 17,2026
 -
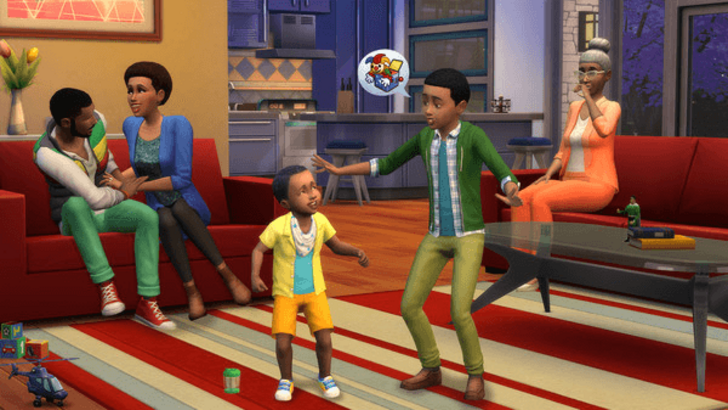 After years of speculation about The Sims 5, EA is charting a bold new course for the franchise. Instead of traditional numbered sequels, the company plans to expand "The Sims Universe" with ongoing updates across multiple titles.EA Plans on ExpandinAuthor : Samuel Mar 16,2026


- Classic WoW vs. Turtle WoW: 6 Key Differences
- Ultimate Guide to Shinigami Progression in Hollow Era
- Roblox Simulator Codes: Unlock Exclusive Rewards!
- Mastering Two-Handed Weapons in Elden Ring: A Guide
- Wuthering Waves: Uncover the Secrets of Whisperwind Haven's Palette
- Top 25 Palworld Mods to Enhance Your Game