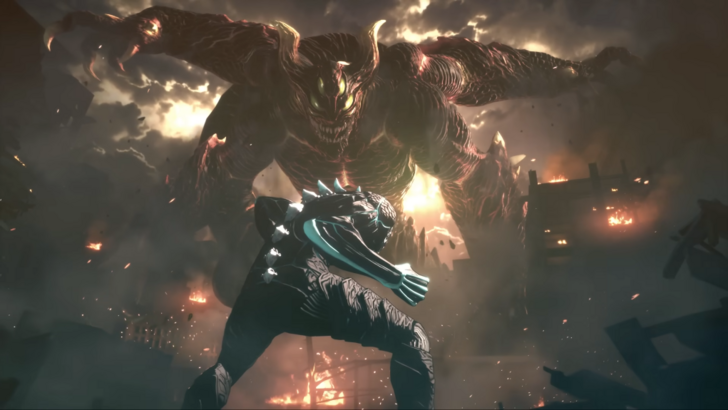
Kaiju No. 8: Game Pre-Orders and Registrations Now Open
Unlock the Power of Google Chrome's Translation Feature!
This guide provides a step-by-step walkthrough on how to effortlessly translate web pages using Google Chrome. Learn how to translate entire pages, selected text, and customize your translation settings to seamlessly navigate multilingual websites.
Step 1: Accessing the Settings Menu
Locate and click the three vertical dots (or three horizontal lines) in the upper right-hand corner of your Google Chrome browser. This opens the main menu.

Step 2: Navigating to Settings
In the dropdown menu, select the "Settings" option. This will open your browser's settings page.
Step 3: Locating Translation Settings
Use the search bar at the top of the settings page. Type "Translate" or "Language" to quickly find the relevant settings.
Step 4: Accessing Language Preferences
You'll find an option labeled "Languages" or "Translation services." Click on it.
Step 5: Managing Languages
This section allows you to add, remove, or rearrange languages. You'll see a dropdown menu listing supported languages and an option to add more.
Step 6: Enabling Automatic Translation
Crucially, ensure the option "Offer to translate pages that aren't in a language you read" is enabled. This ensures Chrome will automatically prompt you to translate pages in languages other than your default.
By following these steps, you'll unlock the full potential of Google Chrome's translation capabilities, making your online browsing experience truly global.
-
Lego Batman: Legacy of the Dark Knight Lego Batman: Legacy of the Dark Knight has been unveiled during Gamescom’s Opening Night Live, showcasing an expansive open-world Gotham City you can explore in the iconic Batmobile. The highly anticipated projeAuthor : Ava Mar 25,2026
-
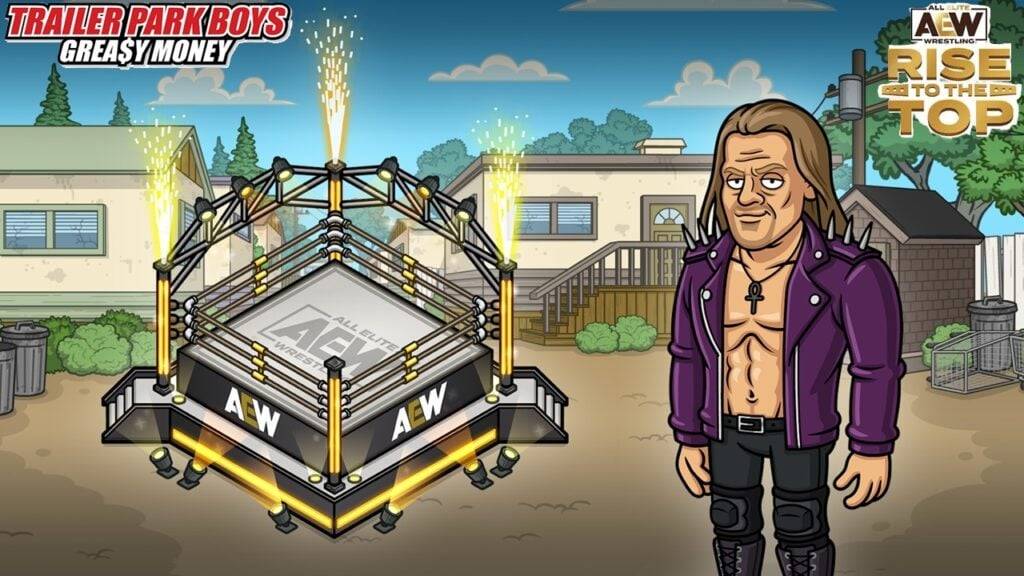 East Side Games Group is merging two wildly different universes in an exhilarating crossover. Trailer Park Boys: Greasy Money is joining forces with All Elite Wrestling: Rise to The Top. This special event begins on March 27th at 2:00 PM PT, deliveriAuthor : Sarah Mar 17,2026


- Classic WoW vs. Turtle WoW: 6 Key Differences
- Ultimate Guide to Shinigami Progression in Hollow Era
- Mastering Two-Handed Weapons in Elden Ring: A Guide
- Roblox Simulator Codes: Unlock Exclusive Rewards!
- Wuthering Waves: Uncover the Secrets of Whisperwind Haven's Palette
- Top 25 Palworld Mods to Enhance Your Game